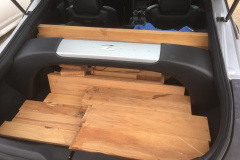
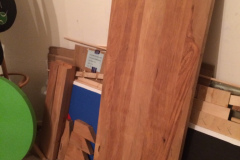
My parents had a bad habit of renovating houses when I was growing up and one thing that came from it was a lot of reclaimed rimu timber from old kitchens, old wall studs, benches and shelves. Lucky for me, my grandad was a bit of a hoarder of nice timber and as he started getting older he started letting me use some of it for projects. Basically, if it fit in my 350z then I could take it. I grabbed a few car loads over the years and as my $90 Warehouse particle board desks started falling apart I decided to replace it with a solid timber desk that would last forever and could be modified and tidied up in the future.
Building the desk top
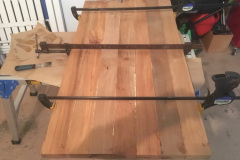
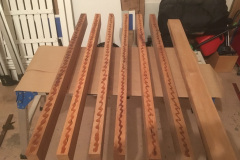
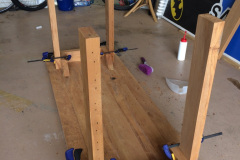
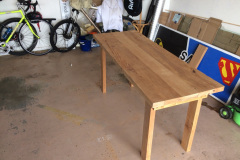
I basically made the desk as wide as I could while still keeping enough timber for have 4 legs and the lower bracing, meaning I clamped it all together then cut to the shortest board and kept the rest as excess. The boards weren’t exactly straight or square so I stacked them as close as I could to get the flatest topside while avoiding knots on the top face if I could. After than it was just a matter of using Gorilla glue and some massive clamps to keep it all together while it dried. One note though, don’t clamp them too tight as they can bow outwards if the faces aren’t completed flat. If I had the option, I would have run these through a thicknesser first to make them straight and flat first, it would have saved me ALOT of sanding at the end.
Figuring out how to add legs
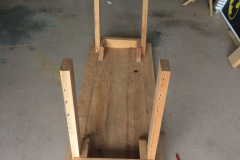
The legs for the desk weren’t the easiest to get sorted. I had to work around a few limitations, one was the timber I had left over ( I needed 4 legs the same length ), I needed a way to mount them to the desk top and I needed a way to level out the table so that at least when it was sitting on the ground it didn’t rock. From opposite corners the table top had a bit of a bow in it that I just had to work around.
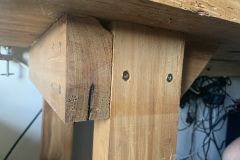
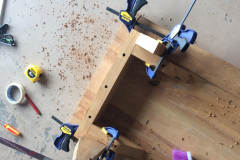
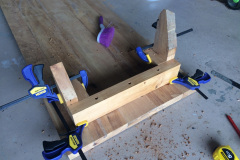
The best way around it I could figure out was to build a small boxed section on the bottom of the table top, then pocket mount the legs in. This gave me a way to attach the legs from two faces, which stopped the wobble from side to side. To get the screws into the table top and legs, I actually had to recess wider holes into the timber then drill out pilot holes for the screws otherwise I would have been using 140mm screws.
Finished table and problems
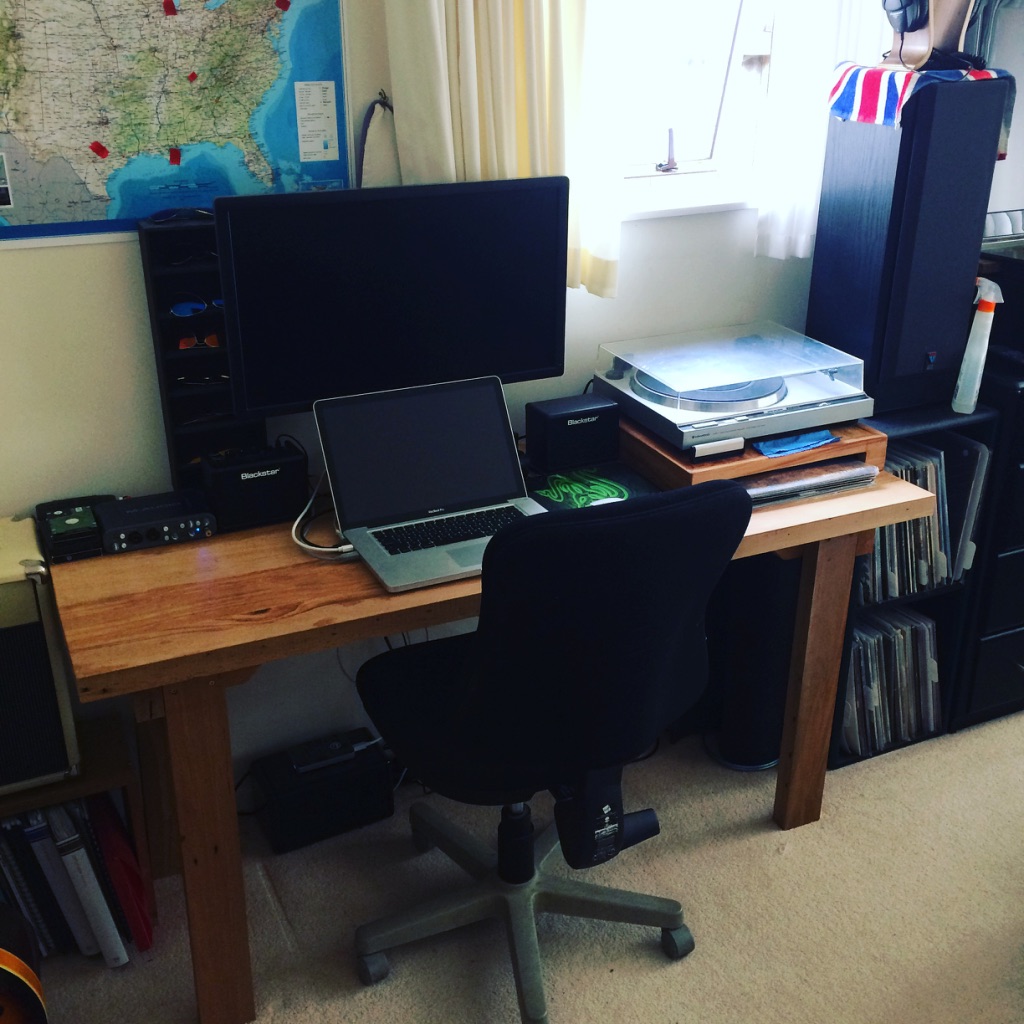
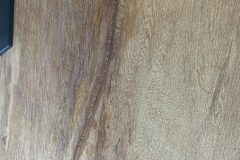
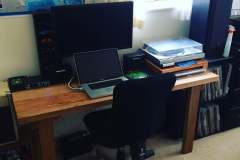
The table turned out rather well to be honest. I had a lot of sanding and planing to do to get the top of it flat enough to be able to use it. I finished the table in some linseed oil just to seal it and stop too many stains showing up. One good thing about using reclaimed wood is there is already a lot of marks, dents, knots, nail holes in it so it doesn’t need to be 100%.
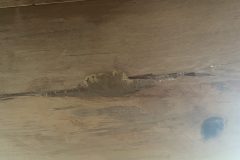
Something that did happen after a while, is that the heat from my laptop sitting on it for about a year made the wood crack along a obviously tense spot, it actually cracked along the timber not the glue, Gorilla glue does live up to its name.
I also added a block of wood under the desk to mount a power strip to get the cables off the floor. I also made a twin desk for this desk that was a bit slimmer and taller to be able to fit a bar stool under it with a keyboard style pull out for tools.

0 Comments