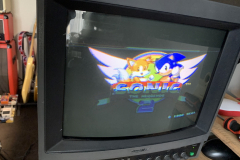
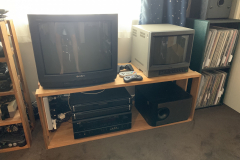
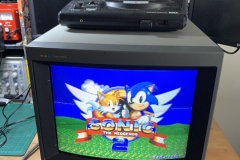
Another great score with the Sony 1440QM PVM. A 14″ Scart/RGB CRT that is perfect for gaming, only problem is its a little bit unwell.
Assessing the Condition
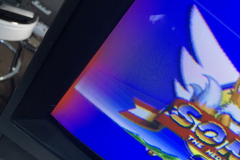
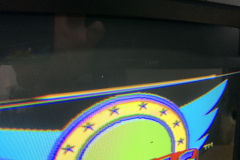
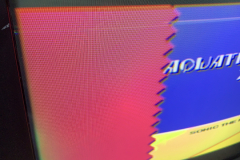
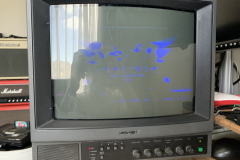
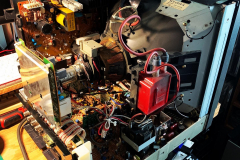
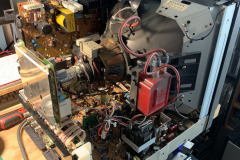
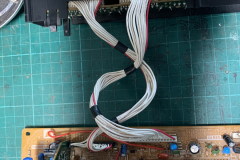
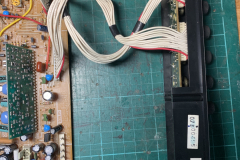
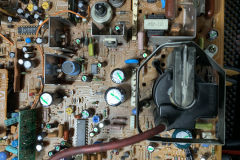
For a $50 pickup its in better condition than I was expecting, It did not power on at first but I was told that it was disassembled and it was attempted to be ‘recapped’ to fix a different issue. Upon opening it up the no power issue was attributed to a connector not being plugged in ( the red ribbon cable going to the front panel ). Once plugged back in, the unit fired into life, albeit with the symptoms I was told it had which was a deflection collapse at the top and purity issues.
Diagnosis
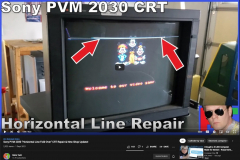
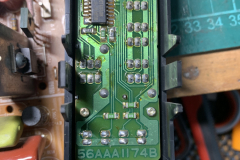
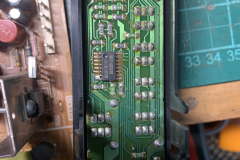
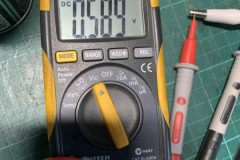
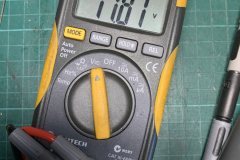
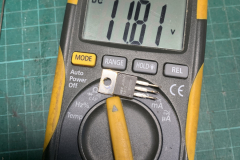
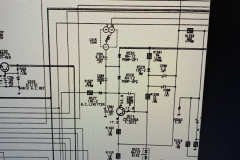
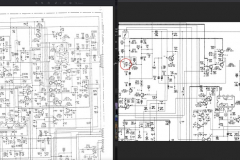
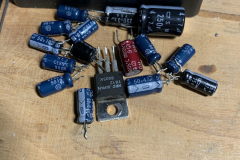
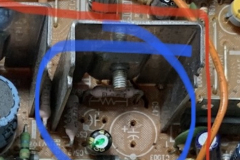
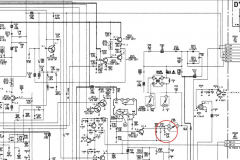
Somehow, I made it worse. By disassembling and reassembling the unit I managed to kill the front panel. Somehow I killed the 12V regulator that was going to it, so after swapping the 7812 regulator I was back to where I was the first time around. While I had it apart I did some checking and testing and couldn’t see anything apparently wrong. After a lot of googling I found the same issue I was having, but in a different model. The issue is called “Horizontal Line Fold-Over” and it caused by, you guess it, bad caps. The caps weren’t the same in my unit but I could at least match up the areas on the main boards and start there.
Recapping
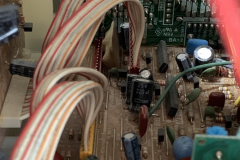
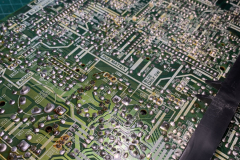
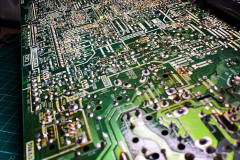
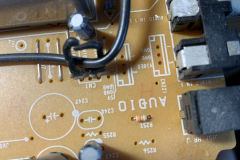
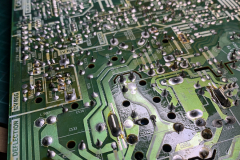
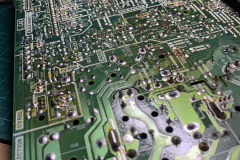
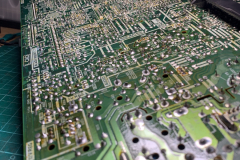
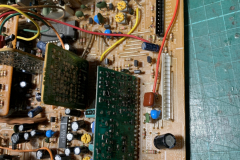
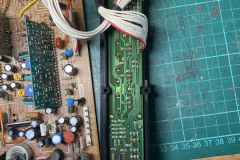
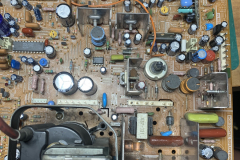
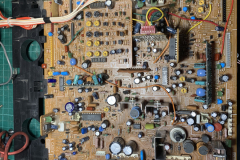
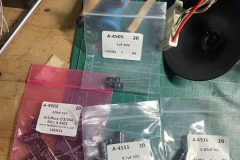
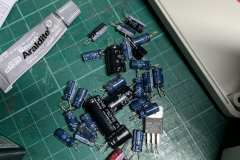
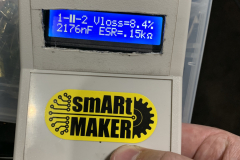
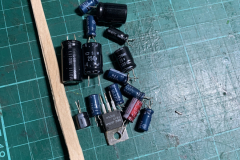
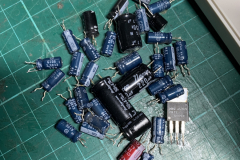
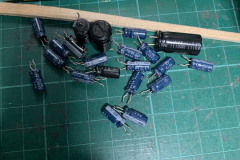
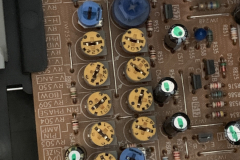
I decided, while I had the whole thing apart that I would recap the entire vertical deflection section ( the problem area ). I had all but two in stock and tested them as I pulled them out. A lot of the high voltage caps were toast, caused by sitting next to very hot resistors and transistors. Once I had done the recap, I reassembled the unit and put fresh grease around the anode cap.
Calibration
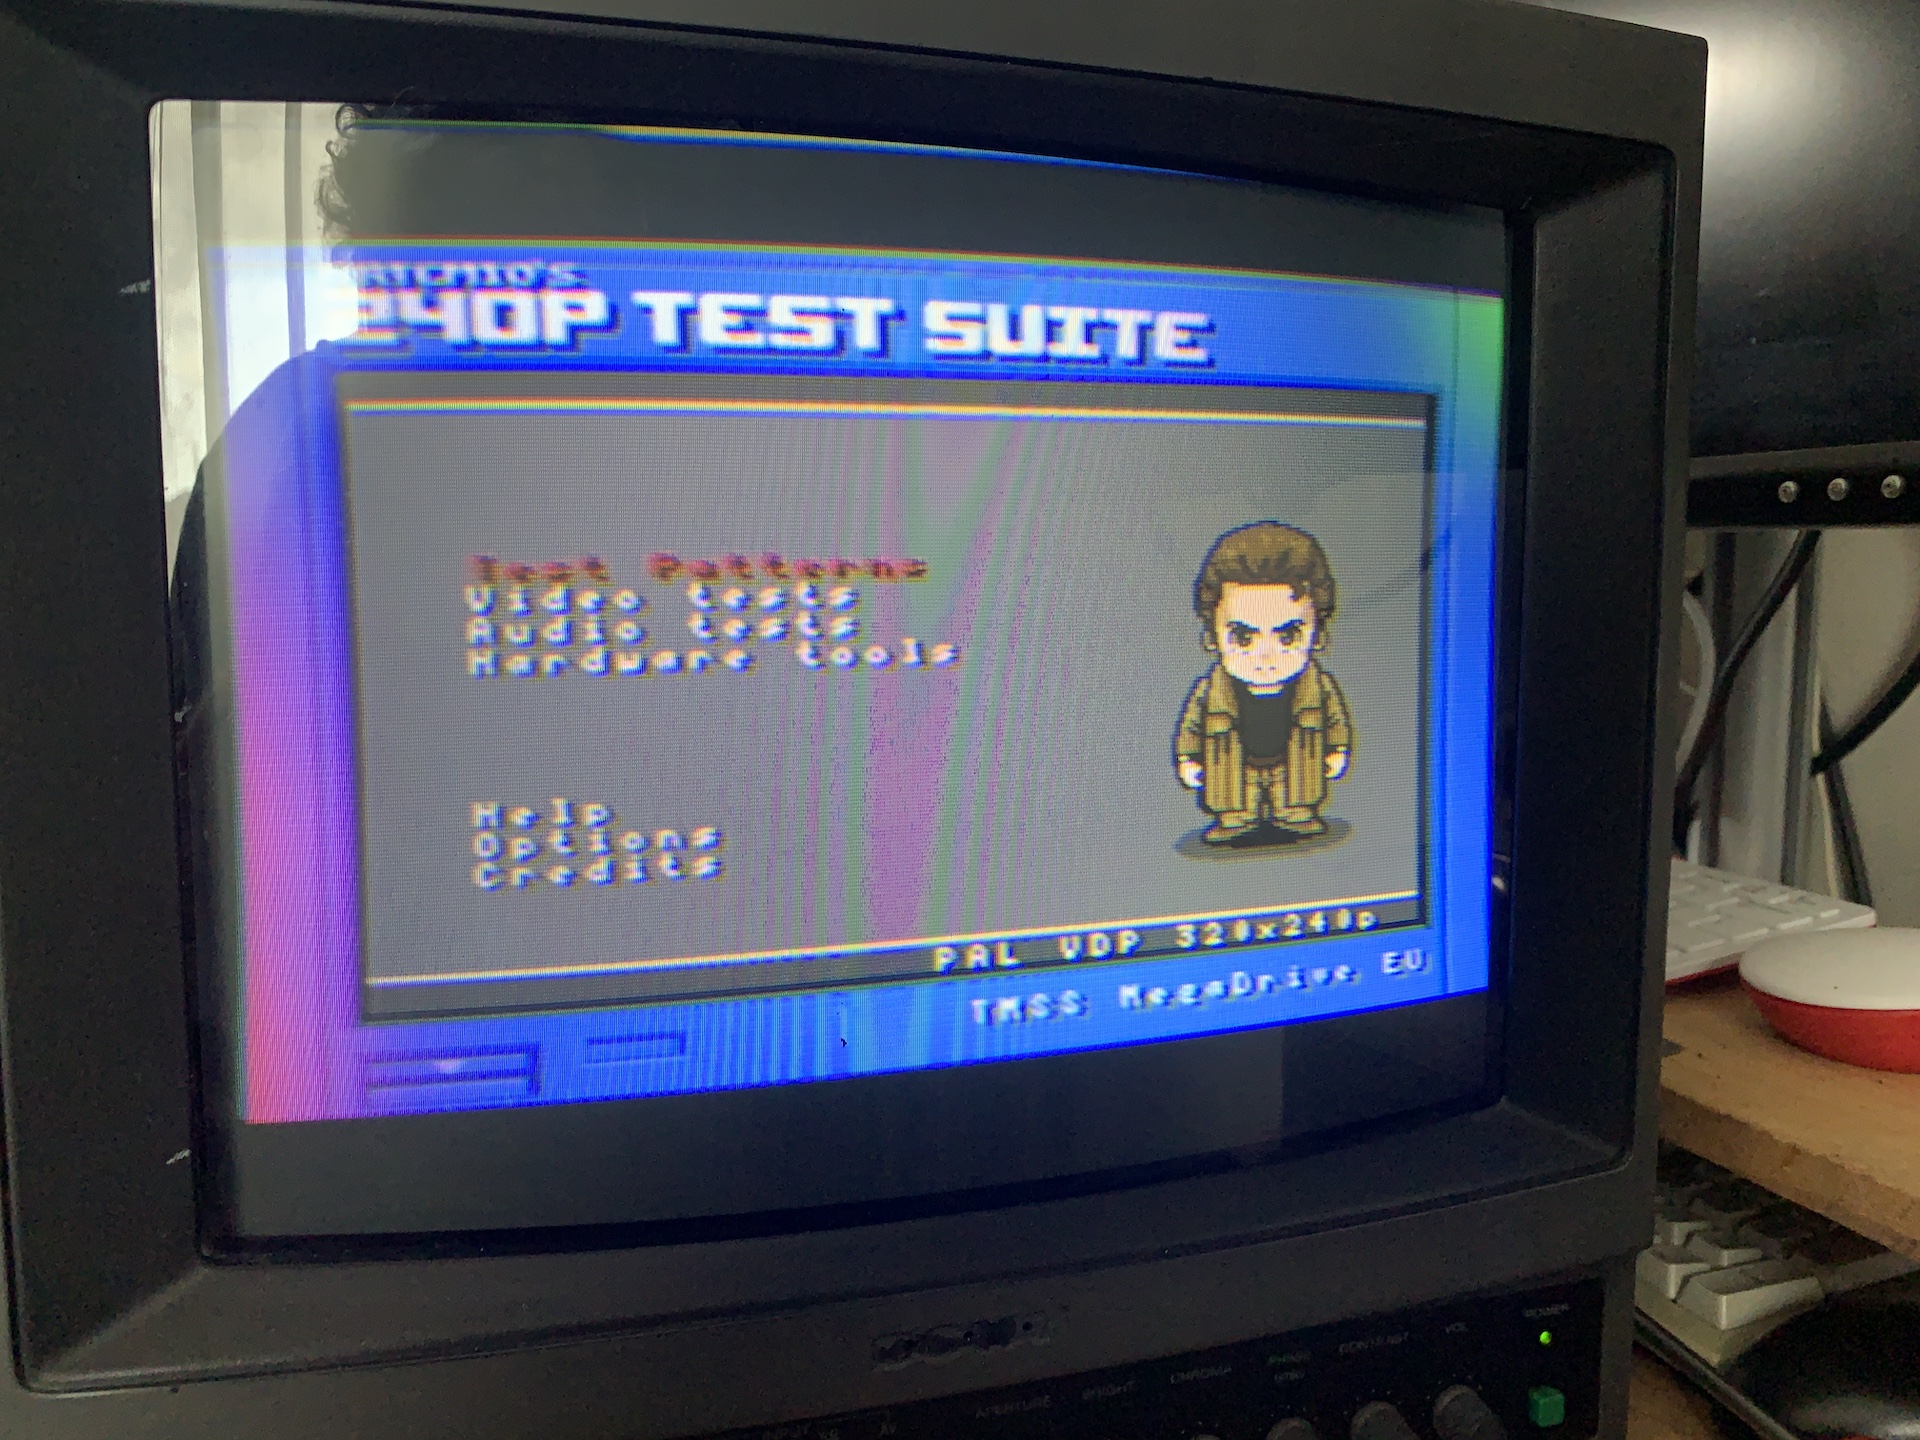
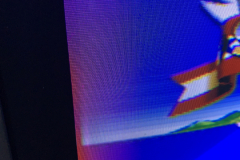
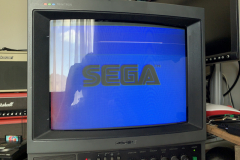
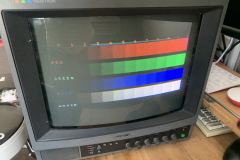
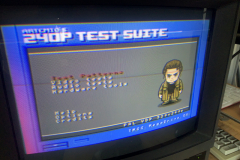
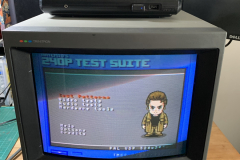
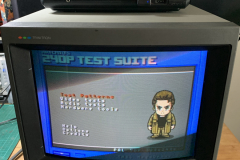
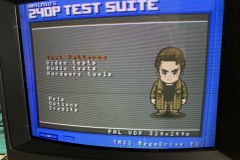
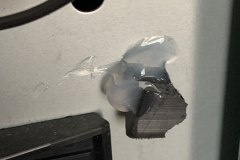
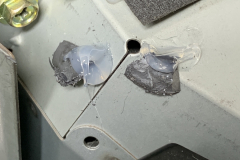
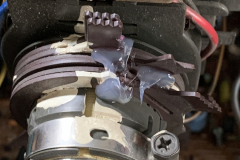
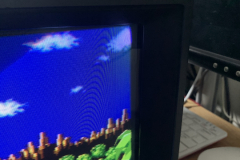
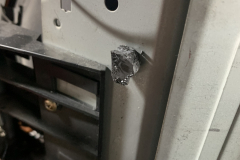
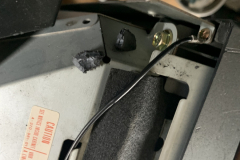
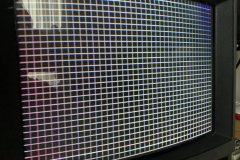
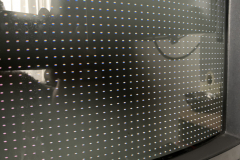
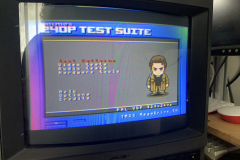
Now that the vertical lines were all gone it was time to calibrate the display. The purity issues were temporarily fixed with some permanent magnets siliconed onto the frame until I can find some purity magnet strips. As for the rest, I just spent an hour or so with the Mega Drive 240p Test Suite and adjusted all the trim pots ( no on screen display in this thing! ) and then carefully adjusted the convergence rings until it I got it as close as I could by eye. Someone else with more experience could get it better but its 100 times better than where I started from.
Working, finally
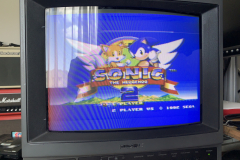
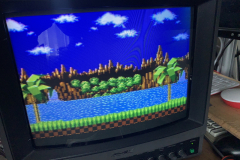
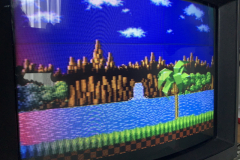
Lots of calibration later and the unit is finally in working and usable condition. There is still a bit of work to do, namely the purity strips and the finding a Sony badge for the front. All in all, not a bad score for $50!











0 Comments