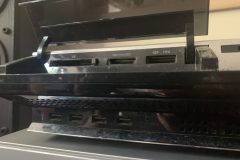
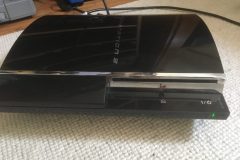
It seems that the YLOD Phat PS3 issue is extremely common and without a BGA reflow station is almost impossible to permanently fix. What I heard was that if you catch it early enough and nobody else has ever opened the machine before you have a good chance of catching it before it causes major issues and needs to be re-balled. Not only that, but I was only going to bother doing this on a backwards compatible PS3 and the easiest way to determine if it is is to check how many USB ports it has on the front, if it has 4 your are all good, if it has two the chances are much lower.
Dismantling the PS3
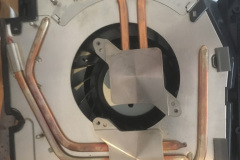
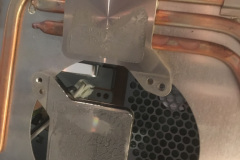
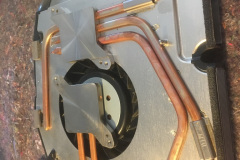
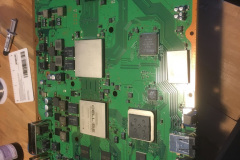
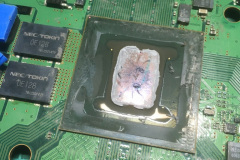
I’m not going to do a detailed teardown of how to take one of these apart, there are plenty of Youtube videos on that already. You will need a torx driver with the little hole in the end of it to get the top cover off, if it doesn’t have that hole you are SOL. Something to be careful of when you are breaking down the unit is not to bend the heat pipes of the heatsinks, they can be very hard to get off the CPU/GPU dies, I actually used a wide flat head screw driver to pop them off. Also be careful of the Blu-ray drive ribbon cable, it is also very easy to break the connectors off. If your unit is like mine, the thermal paste will be dry and flakey.
Carefully re-flowing and re-applying thermal paste
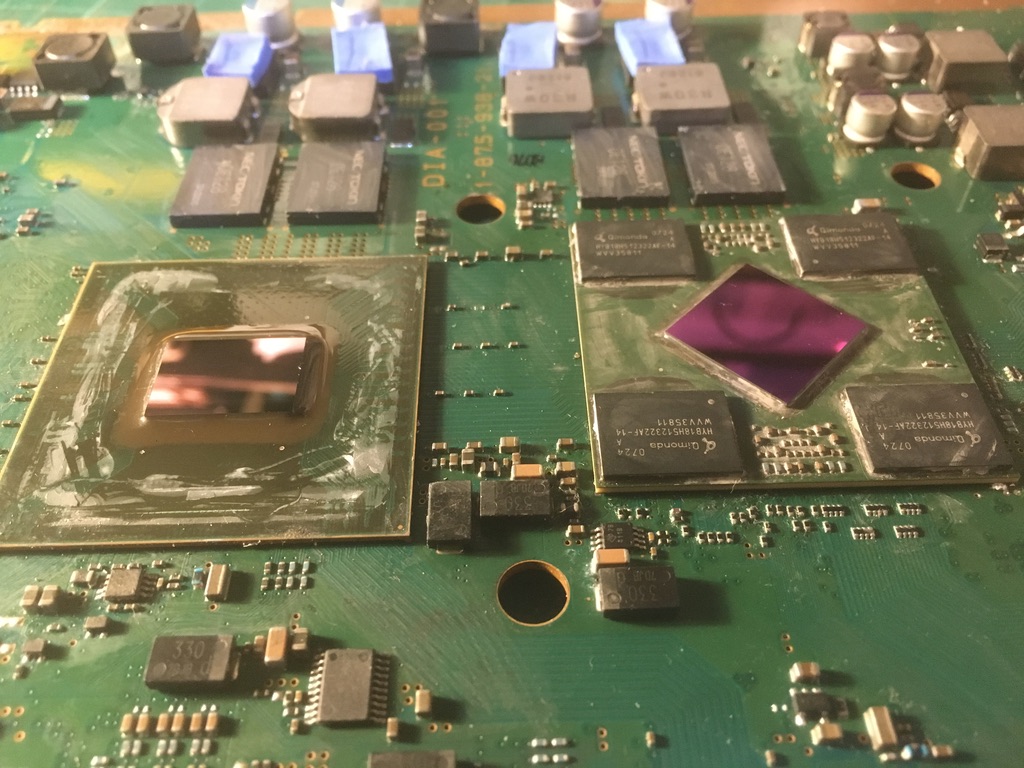
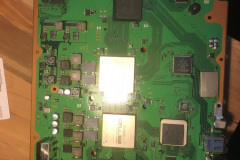
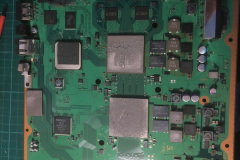
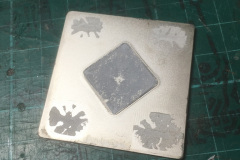
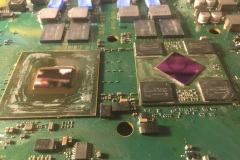
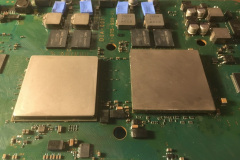
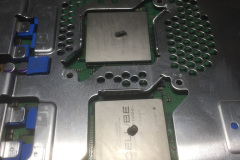
Now this is the hardest part of the whole project, getting those IHS ( integrated heat spreaders ) off the dies. I followed ( roughly ) the directions of MSC Mods on how to do this, but I instead used a 0.15mm feeler gauge with sharpened edges to cut the silicon on the outside of the dies. I definitely recommend preheating them IHS’s before doing this and take your time, it is not an easy process. Once they let go, its just a matter of cleaning everything up.
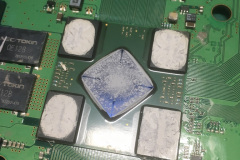
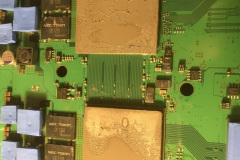
Now this is the controversial part, some people say that “re-flowing” with a heat gun does absolutely nothing and they may be right, but since I had it all open and apart I went through the process of slowly heating up the mainboard and then concentrating the heat on the two dies for about 5mins. I then left it for 45mins to full cool down before I started the reassembly process. The chips at this stage do look very cool.
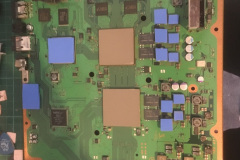
Once all that is done, it is just a matter of putting new thermal paste on, I always use Arctic Silver paste on PS3’s and PC’s. Don’t put to much on as it doesn’t need to be very thick. If it is too thick it can actually cause the same problems, I have always worked on a pea sized blob in the center but the paste needs to be on the die’s and GPU chips as well as on top of the IHS’s and I always give them a little wiggle to seat them down. One extra step I did was replace all the heat pads with new silicon pads at the same time ( the blue stuff ) as they were all crusty and the PS2 chip only used these heat pads for cooling.
All going well, the PS3 should power back up and work as it always had. I have had a 2/5 success rate with this method, but both the working units I was the first one to open the unit up.

0 Comments