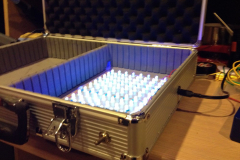
Well I finally got fed up with ironing on PCB transfers and how crap the turn out. A bunch of eBay orders accumulated over a few years and i’m putting together a UV LED exposure box!
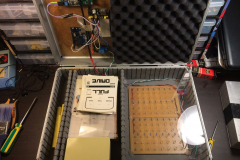
I had seen a few of these online but no full instructions to do one. I wanted a countdown timer controlled box that was self contained. I had a old faux travel case around which got ‘donated’ to the cause and I stole some clear glass from mums work for the exposure panel.
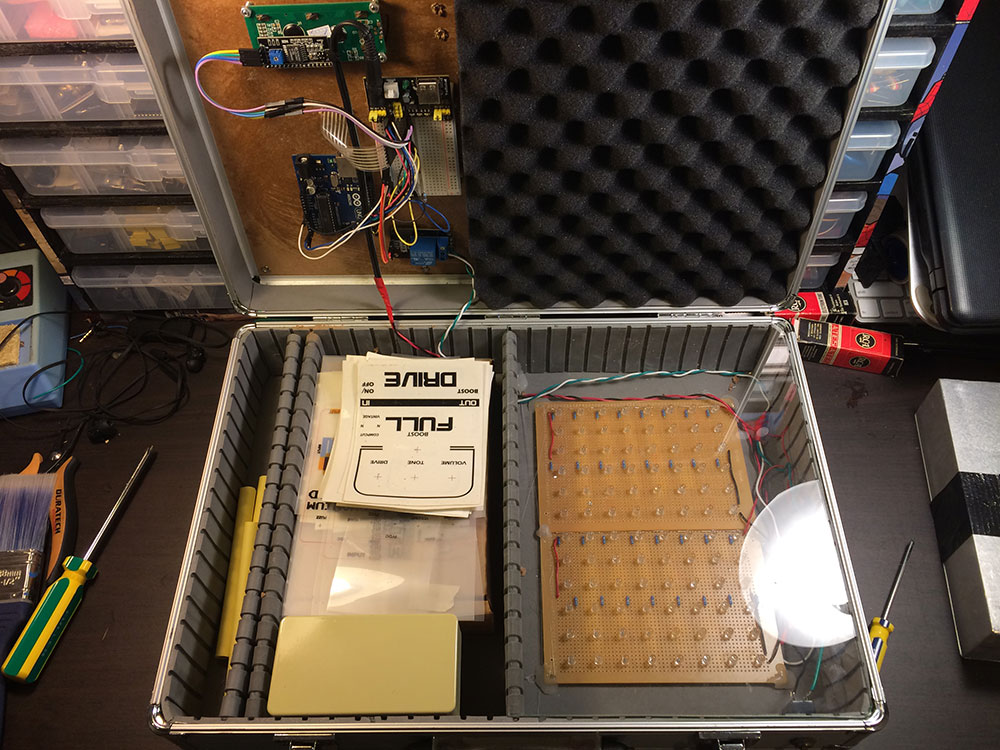
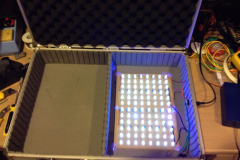
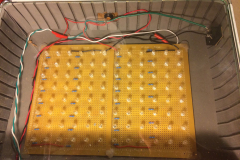
Some projects were 555 timer based, some were arduino and considering I had a literal shit load of Arduinos laying around an Arduino Uno was the basis for the build. I ordered a huge box of UV LED’s off eBay, surprisingly none were dead. I / dad made up two panels of 6 x 8 ( 48 total ) LED panels. Test power them off 12V and they were good to go.
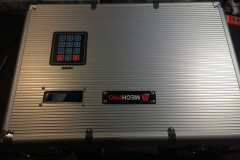
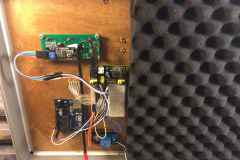
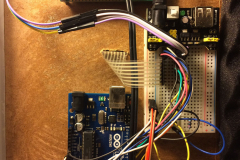
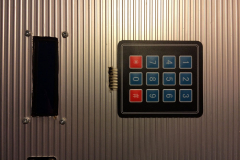
The hard part was finding code that would work on my Arduino and be controllable. Dad found one that worked with an UNO and I just had to buy a serial to LCD adapter,5V relay and keypad, both brought from Aliexpress.
There was some back and forth with finding the right libraries for my LCD and keypad. contact me if you would like the zip file. One of them should work.
Test wire up seemed to work and I just had to cut the case up and mount it all in. I did have to reverse the code so the LED’s would turn on and off in the correct order as I had a master switch on the front of the case to power the thing on and off.
Materials:
- Arduino Uno
- 5V Relay board
- 3 x 4 keypad
- 16×2 LCD
- 96 UV LED’s
- Flight case
- Glass pane for the lid
- 2 x tagboard for LED’s
- 1 x breadboard
- 1 x breadboard 5v power supply to power it all off 12VDC

0 Comments