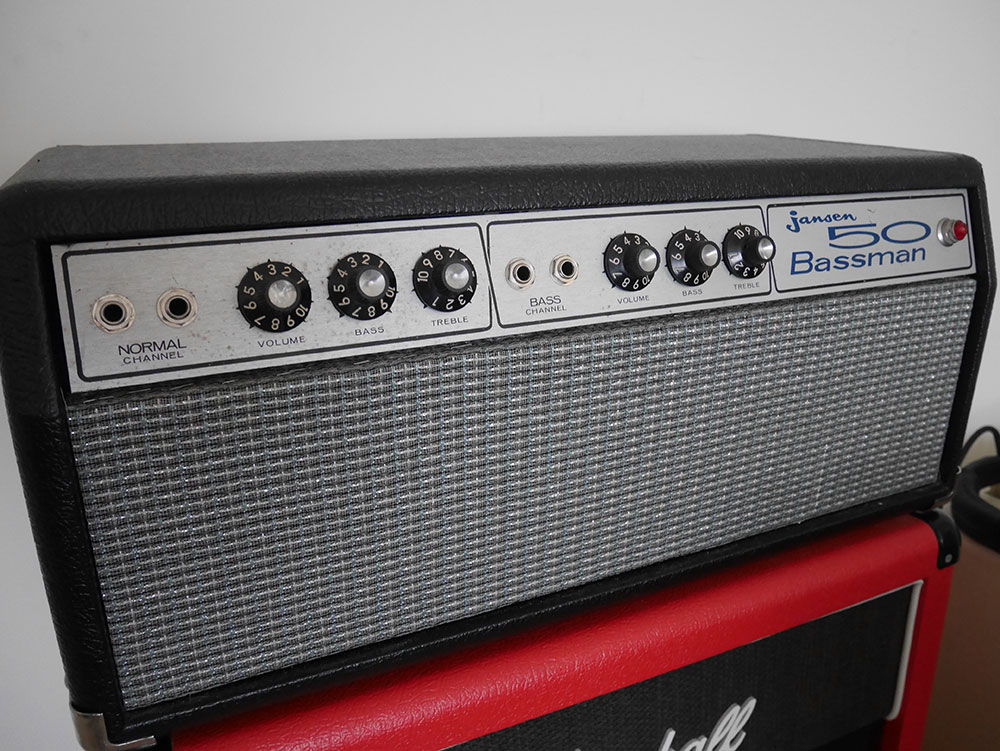
Yet another amp project build. This time it started with dad being given a bunch of old Jansen amps from old trades at the Rockshop. Included in the stash was a 1975 Jansen Bassman 50.
The old girl was looking a bit sad
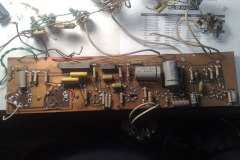
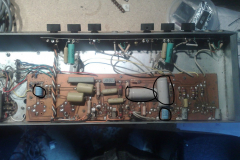
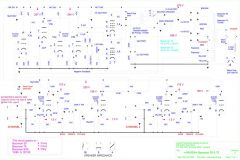
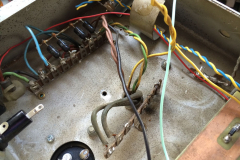
It was clear that this amp was in a bit of a sad state. The amp seemed to have burnt out the PCB board mounted valve sockets from the heat of the 6L6GC’s. Good thing was, I had access to the schematics and the pcb photos from the original board as well as my dad’s Bassman 75, which are more or less the same with different tubes.
Dad’s Bassman 75 was a good source for figuring out how it was wired originally and what the type of parts was back then.
The planning
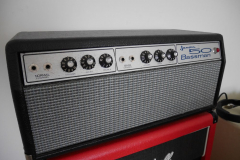
First stage for me was to source parts. I picked up a silverface Bassman faceplate off Clary from 34Audio and used the left over tolex and grill cloth from Dave from Southgate Studios’ Fender Blackface build. The knobs came from a NOS box from Surplustronics. Clarry was also able to supply the schematics for the Bassman 50 and 75. Turns out they are almost identical.
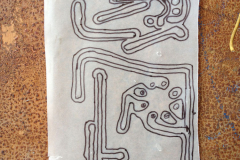
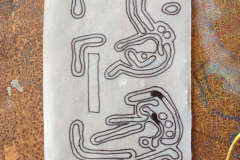
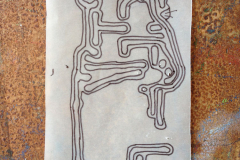
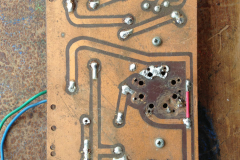
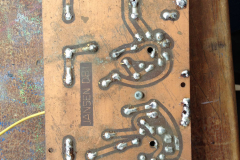
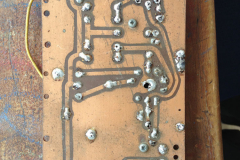
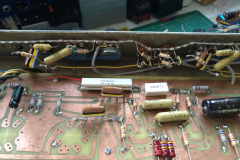
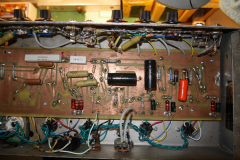
Next phase involved tracing paper and ALOT of patience. I manually traced over PCB after it had been stripped and then put it into illustrator. I tidied up the drawing and re-etched the PCB. I kind of failed with the etching, I brought double sided board and the etchant start eating into the traces because of the time it took. But the continuity checked out and the board was ok, even if it didn’t look the nicest.
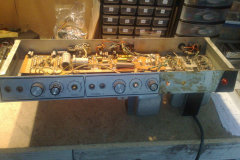
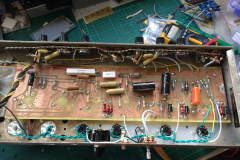
Populating the board and wiring
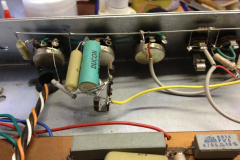
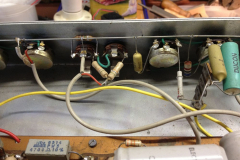
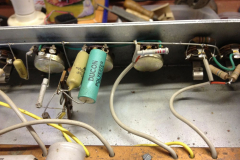
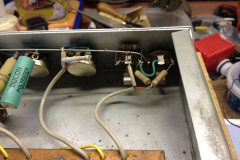
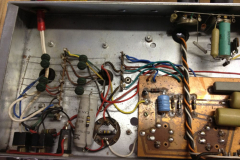
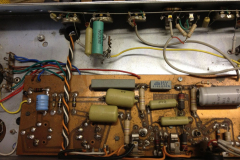
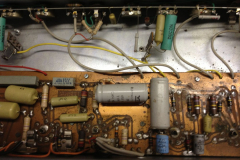
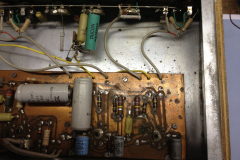
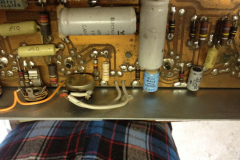
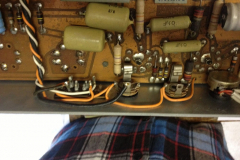
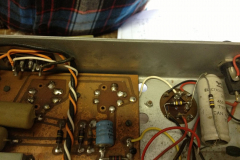
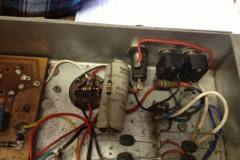
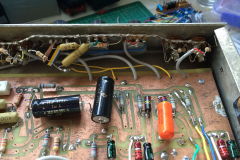
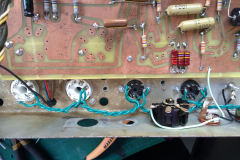
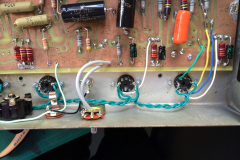
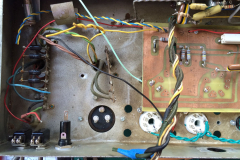
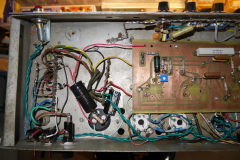
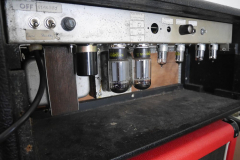
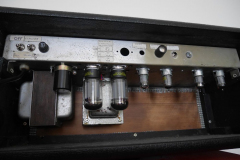
Lucky for me, I had a lot of old tropical fish caps and Phillips Mustard caps. So a fair amount of the parts we’re similar or NOS versions of what it came out with. I ended up mounting the valve sockets to the chassis and remote wiring to the board since it overheated and burnt out the last time.
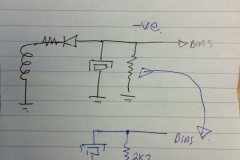
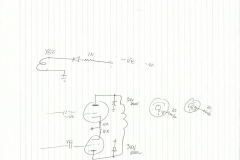
There were a few modifications that Clarry recommended doing before firing it up. One was too wire the heaters as 12.7V instead of 6.3, some protection diodes and replacing the ‘spark gap’ and installing a bias pot.
Firing it up
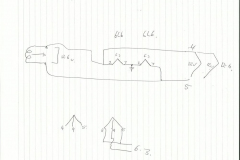
Due to so many variables in the build I opted for Clarry to fire it up as he had a Variac and had repaired many of these in the past so he could check my wiring. From what I recall he changed some jacks to shorting jacks and rerouted some wires for noise suppression.
Once he fired it up it was apparent that the Output transformer was dead. He hooked it up to a test rig he has and confirmed that the amp runs and just needed the OP transformer rewound. And the amp sat for 1 year and half till I got the money to get it finished.
It puts out a whopping 50 watts ‘clean’ and 65 watts flatout, all with NOS RCA 6L6GC’s.
Materials:
- Mojotone tolex and grill cloth
- PCB from eBay seller giorgio11185
- Valves from Vintage Audio Valves
- Knobs from Surplus Electronics
- All extra components from The Amp Shop

Good effort, I’m trying to repair one now. Can you tell me what tubes go where please as the ones in it have no details on them anymore. It looks like 12AX7’s ECC82, ECC83 and 6L6’s (6 valves altogether)
Maybe a decent schematic would help too.
Cheers
I have schematics of you still need them
Do you still have this amp?