by bassybeats | Jan 15, 2023 | Computing, Retro Gaming
Finding the Right MT32Pi Hat
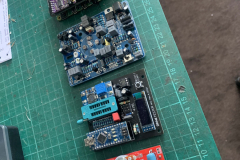
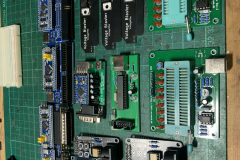
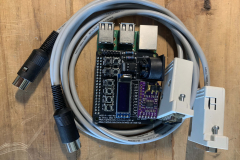
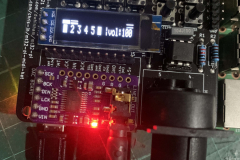
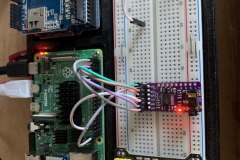
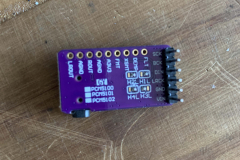
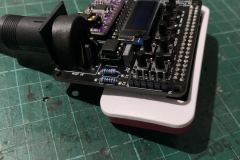
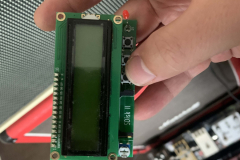
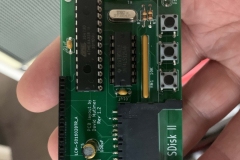
Since nobody can afford a real Roland MT32 a bunch of smart people had figured out how to use a Raspberry Pi to emulate it as a hardware device, which was much more in my price range. I did some digging and found that most Pi hats were for the MiSTer but i did come across this one from Chris-JH on Github. I got some boards made on JLCPCB and waited for them to arrive.
Building up the PCB, with issues
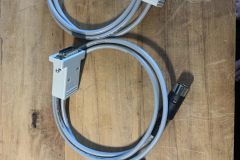
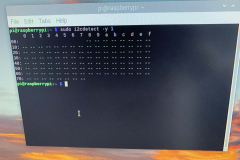
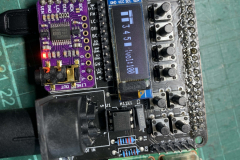
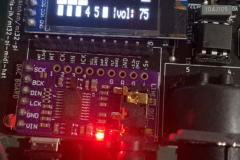
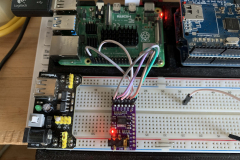
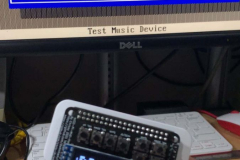
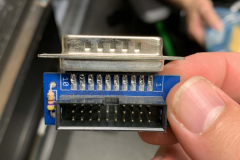
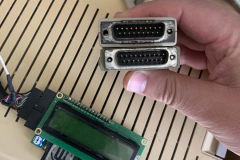
Building it out was really easy if you just follow the guides on the GitHub pages above. I did have to make a Midi to GamePort cable to hook it up to my old 486 machine for testing. For the first test I was getting no sound of out the thing. This was when I tested it on another Pi and realised I had an issue with a couple of the GPIO pins on my 3B+, swapped it out to a PiZero 2 and it was perfectly fine.
Adding every single Sound Font I could find
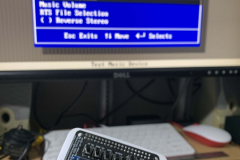
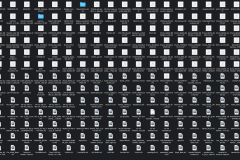
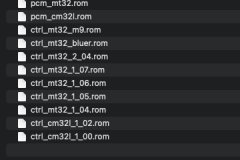
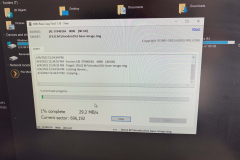
The Github page has a few Soundfont libraries that you can use, but me as usual had to have all of them I could find. Rummaging across the internet I managed to scape together a collection of 260 SoundFonts totally 31GB! Totally unnecessary but what I wanted.
How it ended up and next steps
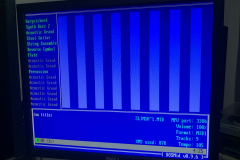
It all turned out pretty good and works as advertised, the only thing I am going to do I design a proper all in one case for this HAT for either a PiZero 2 or a 3B+.
by bassybeats | Jan 15, 2023 | Computing
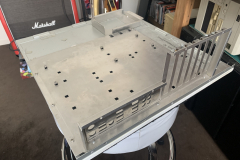
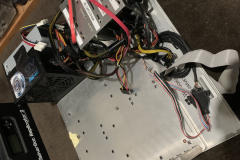
Laying out the parts
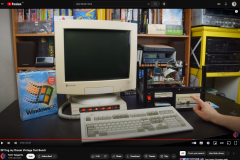
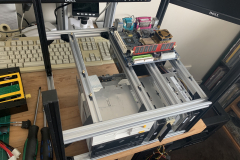
I have a really old test bench that came with a motherboard I bought years ago but I wanted to some more modular and more sturdy that could work for both modern and vintage setups. It wasn’t until I came across this video from Tech Tangents that I finally figured out what I wanted to do.
Putting it all together
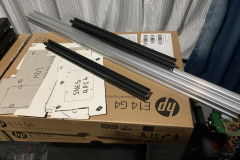
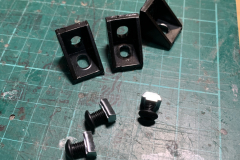
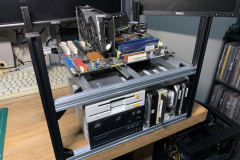
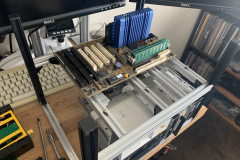
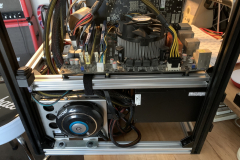
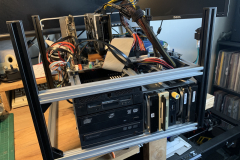
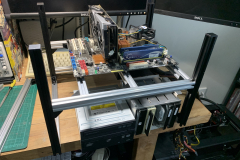
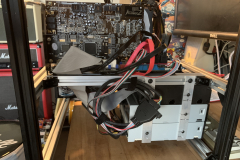
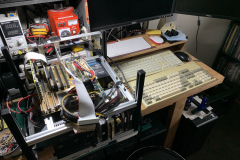
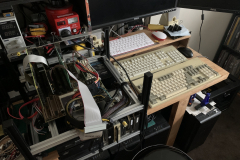
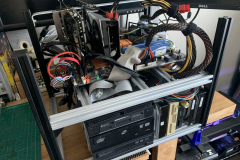
I found a local place that was selling up some offcuts of 2020 Aluminium extrusions for cheap and ordered some fittings on AliExpress to match. Once I had these I laid out all the things I could want to have. It needed:
- AT and ATX support
- expansion card holder bit
- IDE and SATA DVD drives
- IDE and SATA HDD’s
- Windows 10, Windows XP, Windows 98, Linux and DOS installs
- Floppy or Gotek
- An physical Power button
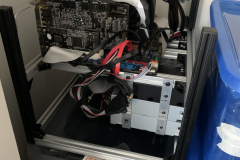
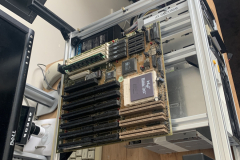
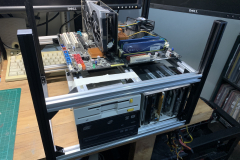
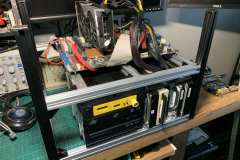
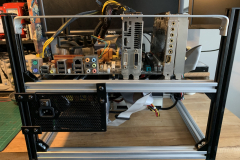
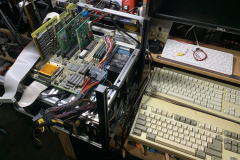
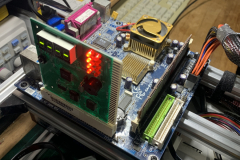
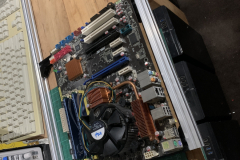
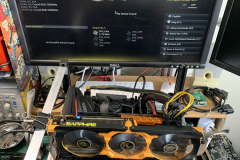
I chopped up the old test bench and stole a couple of mounts and parts from it ( the rest will go into another project ) and bolted it all together which was suprisingly easy. The only part I had to 3D print was the T-Slot to Motherboard Standoff adapters that would slide around to suit any motherboard type. I opted for a modern ATX power Supply with dual 8pin GPU plugs and an AT adapter for older motherboards.
Current State
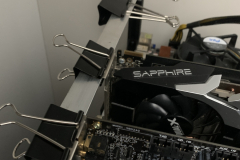
I think the final / current state of the test rig ended up pretty well, there will be adjustments for sure in the future. I would like to swap all the drives over to SSD and Make a better screwed in expansion slot bar and the current one is using bull clips to keep the cards in place.
by bassybeats | Jan 15, 2023 | Computing, Retro Gaming
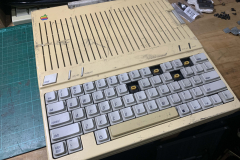
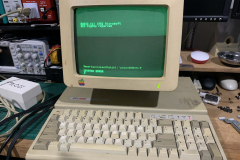
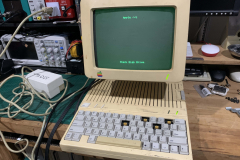
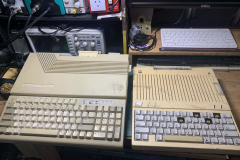
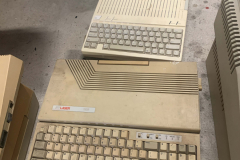
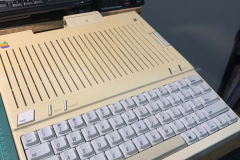
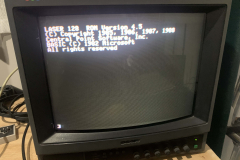
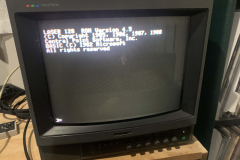
Digging the Apple IIc and Laser 128 out of the hoard
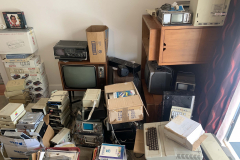
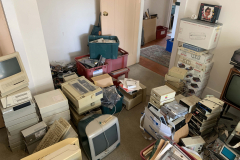
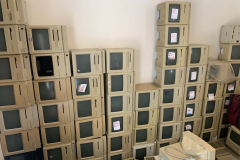
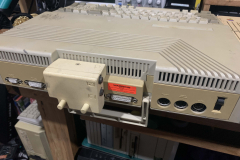
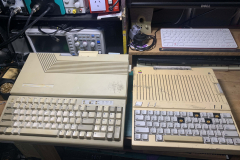
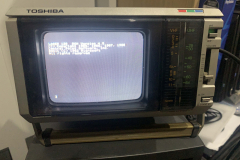
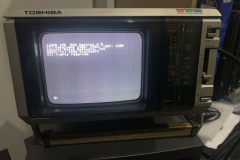
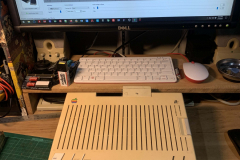
These were an extremely grubby set of machines that came out of an estate sale. They seemed to be sitting for a very long time with a pile of classic macs. BUT, I had been looking for a Laser 128 for a while as I had seen a few Youtube Videos of people using them and I really wanted an Apple II compatible thing to learn about how they worked and enjoy a few games on one. I ended up with both a Laser 128 and Apple IIc with accompanying monitors, bit more than I was after but I wasn’t going to turn it down.
Cleaning the years of grime off
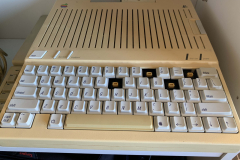
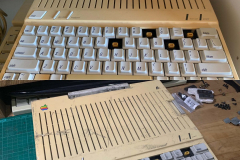
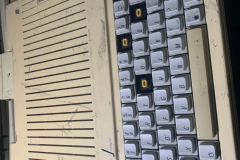
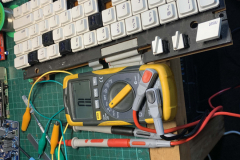
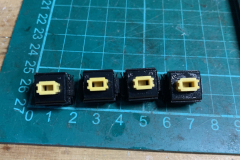
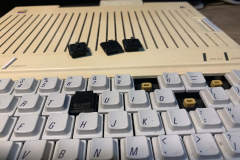
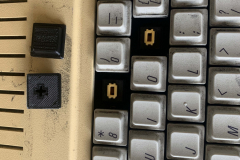
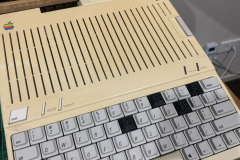
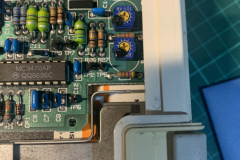
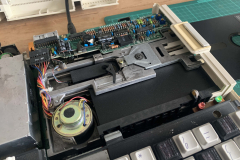
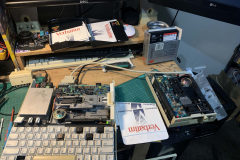
The first step was to get these things cleaned up, they were disgusting after all those years in that hoarders house. Most of the grime came off with some GooGone and Elbow grease. The Apple IIc was missing some keys and some of the Alps keys were not functioning. I managed to pull them out and get some deoxit into them and they came right. After a few months I tracked down some replacement keycaps on eBay and it started to look amazing.
Power Supply and Floppy Fixes
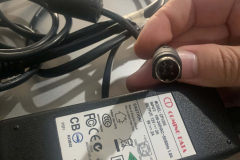
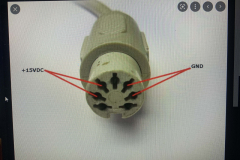
When I got them, it only have a single power supply, a 110V one. So I could at least test the machines with my variac but I would have to make up a power supply. Turns out all you need is a 7 pin din connector and a 15V laptop power supply. Wiring was fairly straight forward.
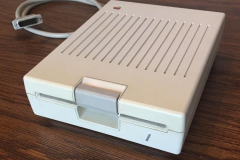
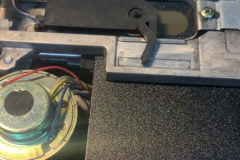
As for the floppy drives, All I needed to do was clean them out and clean the heads and they started working.
Getting the SDisk II working and making some disks with ADTPro
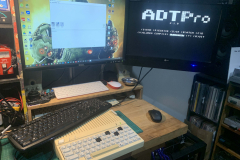
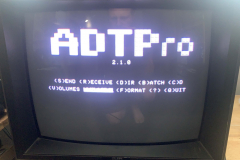
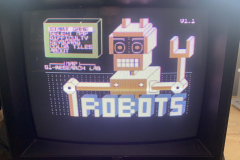
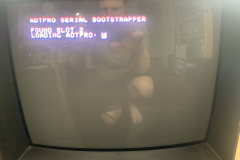
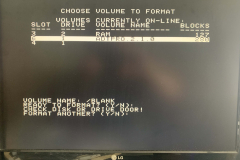
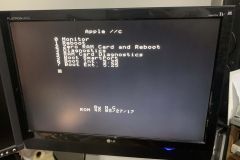
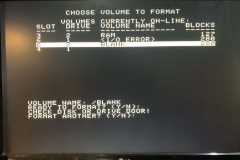
The first port of call was to make up some disks for these things, but since I didn’t have anything to make disks, I opted to fire up ADTPro on my PC and wire up the Serial Cable to transfer some disc images over. I ended up with a handful of tools and game disks.
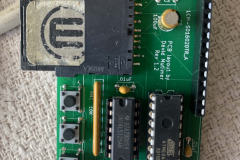
I picked up a SDisk II from a mate that was apparently not working but after reflashing the firmware on the Atmega chip it seemed to fire up no worries and loaded some games off the SD card. I had to convert over the disc images to .NO files for it to work though.
by bassybeats | Jan 15, 2023 | Retro Gaming
The Pickup
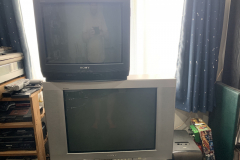
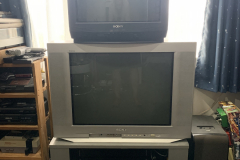
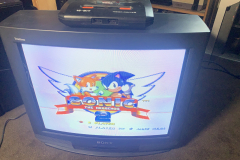
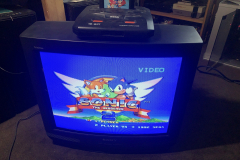
Well I thought it was the deal of a century, a 21″ Sony G21S1 CRT for a whole $1! I had heard these were RGB moddable and just couldnt resist having a go myself. Upon pickup it was obvious that this thing was hardly ever used and just had sat in a basement for years. I reached out to my mate Matt and asked for the run down of how he modded his and got the full photo breakdown which was encouraging.
The guts of the TV
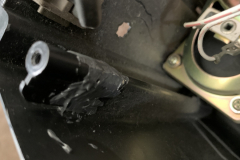
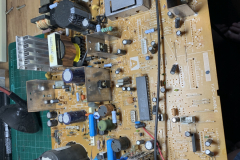
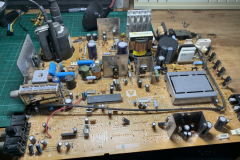
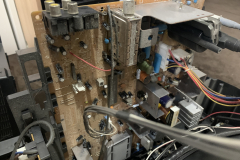
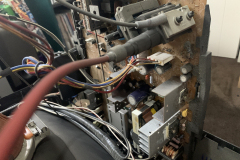
A quick look inside and it was very dusty but also very empty, all that needed to happen was the dust be blown out and a screw post be JB Welded back on.
Adding in the RGB Mod
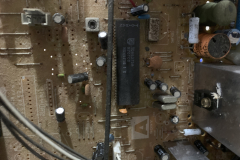
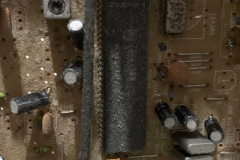
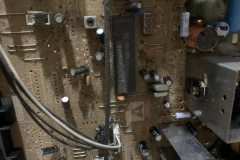
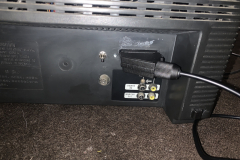
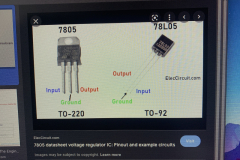
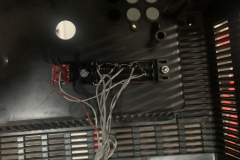
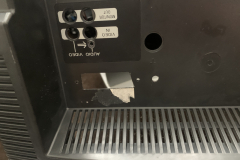
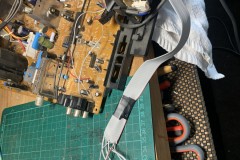
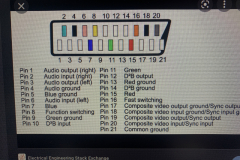
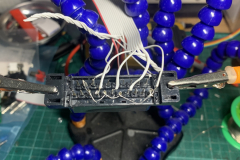
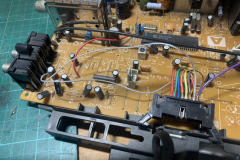
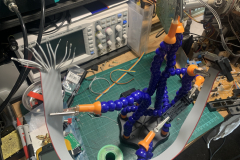
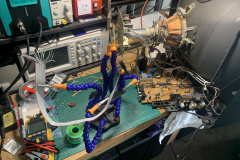
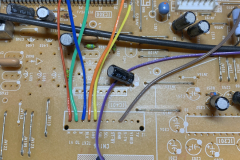
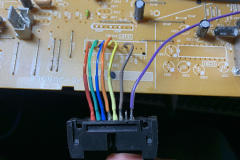
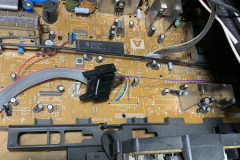
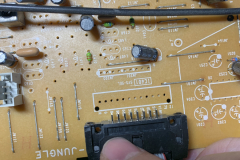
Now for the hard bit, essentially you can mod these by tapping into the OSD that is used for Teletext and the one screen menus etc and inject and nice clean RGB signal into it. For this model, you can tap in at the empty socket for CN104 which has R, G, B, the blanking Pin and Ground. R,G,B and ground is obvious, the blanking pin is the part that you need to concern yourself with. You need to tell the TV to turn on the OSD which takes ~3V. Even though I thought it would be 0Volts LOW and 5V HIGH it seemed to have an limit where to turn the OSD on it needed to be ~3Volts, something Matt had told me about. To do this, I just grabbed 5V from a nearby spot and used a regulator and trimpot to pull it down to where I needed it to be. You also need connect up the composite pin from the SCART plug to the onboard Composite plug to inject the CSYNC or else the machine won’t have sync.
The Final Outcome
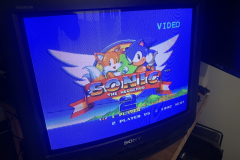
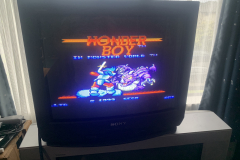
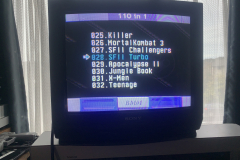
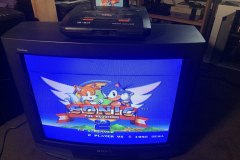
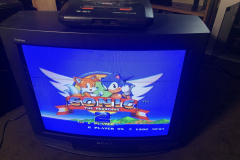
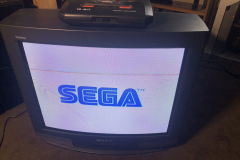
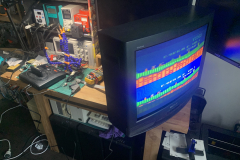
Once all the wiring was complete I drilled and dremelled out the SCART port and added some labels and switches to enable/disable the SCART/OSD mod. It looked remarkably clear after this mod and you could see all though glorious scanlines.
by bassybeats | Jan 15, 2023 | Computing, Retro Gaming
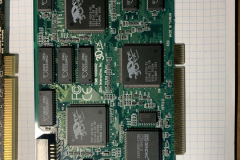
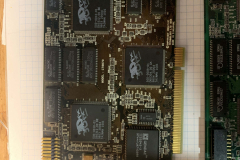
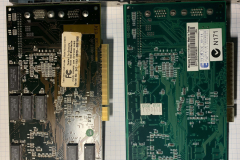
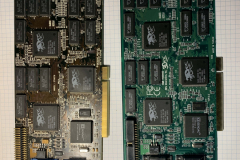
Coming across the elusive Voodoo 2 12MB cards
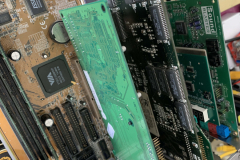
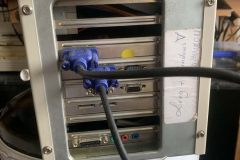
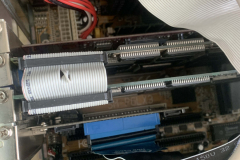
Somehow, I managed to get 2 3DFx Voodoo 2 12MB cards and the SLI cable. Both cards came from various estate sales over the years and I even gave one away not knowing how it worked. As most people other than me would know, Voodoo cards do not actually output 2D graphics and you need to pass through the 2D part from a separate card with a VGA pass through cable. Once I knew what I had and what they could do, there was only one thing I could do and that was build the over the top, all in 3DFx Voodoo 2 SLI machine I could.
First Variation
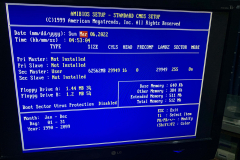
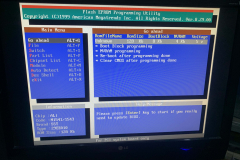
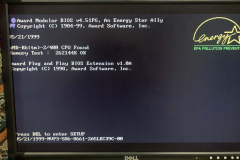
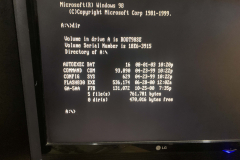
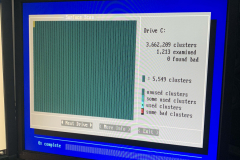
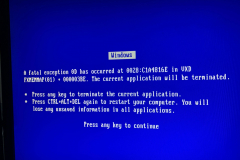
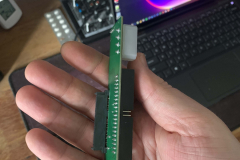
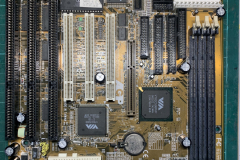
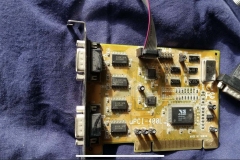
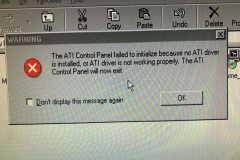
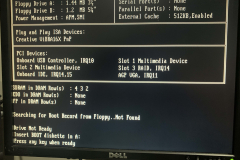
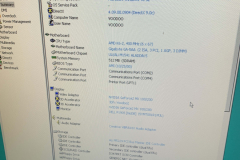
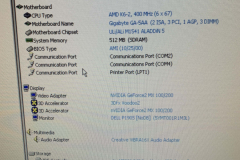
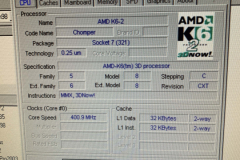
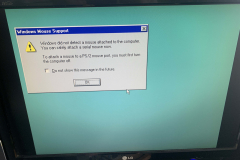
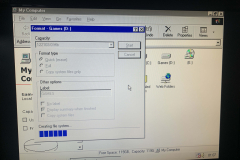
The very first version I tried out was with a Super Socket 7 motherboard with AGP, PCI and ISA loaded with a AMD K6-II 400. I had nothing but issues with this configuration, from it not detecting a HDD over 60GB, any serial mouse working at all, bios issues, ram limits, and the CPU not being detected correctly or being able to set the correct CPU speed. I ended up swapping over to a Pentium 233 MMX which was much more stable. The IDE to Sata adapters were causing some sort of issue with the LBA settings and kept triggering false errors with CheckDisk on every boot.
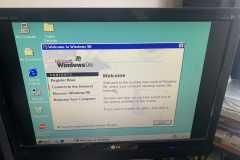
For this version, I ditched the IDE to SATA adapters, lowered the ram and installed a PCI based PS/2 card. This finally gave me a working install of Windows 98SE.
Finding the software, drivers and games
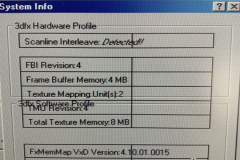
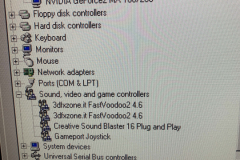
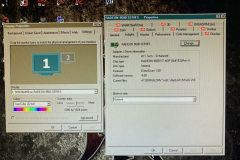
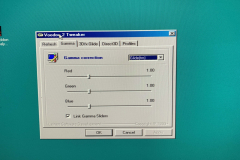
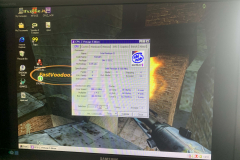
Once I had the install finally stable with all the base drivers installed I could add the Voodoo drivers, something I had never done and had zero experience with. My first port of call was https://www.3dfxzone.it/ to get all the drivers and utilities for the cards that I had. I ended up finding even more files on http://falconfly.3dfx.pl/3dfx.htm as well which basically meant I could use any and all versions of the drivers I wanted to. After some trial and error I landed on using the ‘3DFxzone.it FastVoodoo2 4.6’ drivers which seemed to give the best FPS and picture quality. I had a really weird issue with all the images looking extremely over exposed for some reason and discovered it was the Gamma settings in the Voodoo 2 Tweaker control panel that was causing the issue, once I pulled the sliders back it all fell into place.
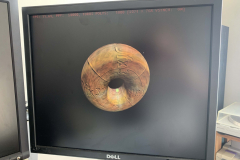
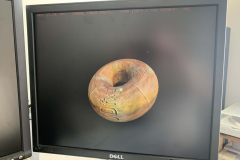
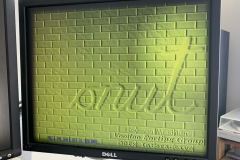
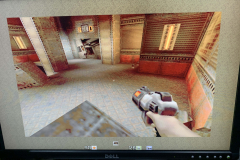
The donut and Unreal Tournament demos worked flawlessly once I had these drivers installed.
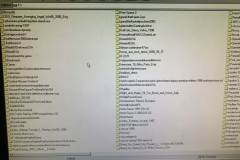
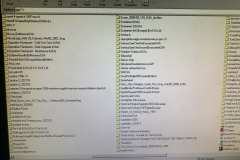
Now that I had it working, how do I get some games? I found this post on an old forum that listed all the games that had 3DFX Glide as an option. I dumped that list of games and scoured Archive.org for old ISO’s and installs of every single of one them. I ended up with a total of 177/203 listed. Not a bad effort for a nights trolling on the internet.
2nd and hopefully final version
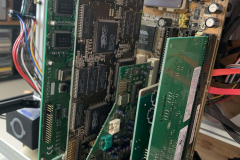
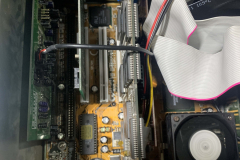
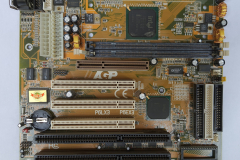
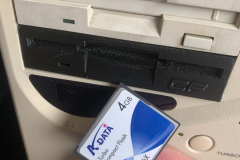
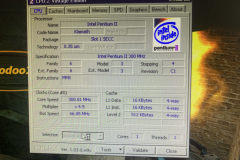
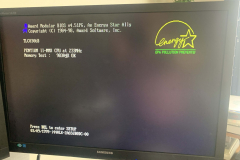
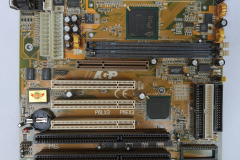
I still wasn’t satisfied with the build at this point and felt the CPU/Motherboard combo was holding everything back. I did some trolling on eBay and discovered that there were some really uncommon Slot 1 Baby AT motherboards with everything I needed with the addition of USB! Once I ordered one and it arrived the system came to life. The SSD’s worked, the USB mouse worked the PCI expansion card + 300GB hard drive worked and all was good in the world. I added a front mounted CF Card adapter for transferring files on and off the machine and also added an extremely over kill Nvidia Geforce 2 AGP card as the main 2D GPU. I was well aware that this thing would out perform the Voodoo’s but it actually offered the option of running the same games with Glide, OpenGL and Direct3D which gave some awesome benchmarking options.
So the final parts in the build are:
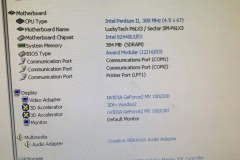
- Slot 1 motherboard – LuckyTech / Sector SM-P6LX3 – Intel 440LX
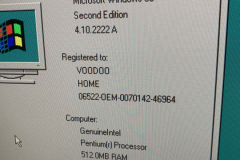
- Pentium II 300mhz
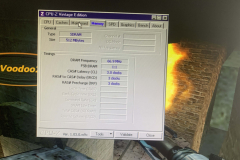
- 512MB of Ram
- 2x Voodoo 2 12MB in SLI
- 64GB Sata SSD main boot drive
- Nvidia Geforce 2 MX200
- 300GB IDE drive split into 2 120gb partitions
- 3.5″ Floppy
- 5.25″ Floppy
- DVD Rom Drive
- Sound Blaster Vibra16 ISA sound Card
- Promise IDE Card
- CF to IDE adapter
Page 8 of 21« First«...678910...20...»Last »





Recent Comments