This was one of the most frustrating projects that I have done do date. It took me right back to those painful days of installing drivers, blue screens, crashes, hardware incompatibilities and re-installs. I don’t think I have installed any OS more than Windows 98. On top of all of that, I had numerous hardware failures due to the age of most of the components I started out with.
The plan
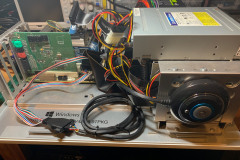
This project started from a youtube video from PhilsComputerLab where he was building some Windows 98 PC’s with somewhat modern hardware, from Socket 370, socket 478 and even socket 775 motherboards. After building my “Ultimate XP/10” rig I wanted to do the same but with Windows 98SE. The plan was to get as much compatibility, speed, and modern creature comforts as I could. That meant USB, AGP, PCI, ISA, SSD, Sata, DVI output, Good sound, reliable parts and a modern case. Not all of those were easy to find.
Revision 1
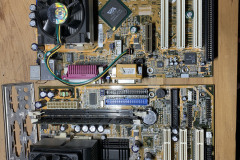
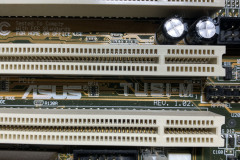
The first revision of this build was using an Asus TUSI-M Socket 370 motherboard with a Pentium III in it. This motherboard seemed to perform well but was lacking some of the features I was after, namely AGP, Sata II and USB 2. After that another socket 370 board came up on Trademe, a Gigabyte GA-6VEML which was pretty much the same except it had an ISA slot which would take my nice vintage Sound Blaster card. But alas, it wasn’t meant to be. After numerous re-installs and issues I just gave up. The Gigabyte board was having issues where it wouldn’t turn on half the time for no reason and the CPU coolers were crazy loud, so I had to change course.
Revision 2 (short lived)
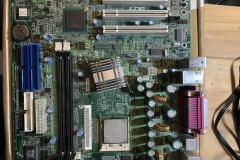
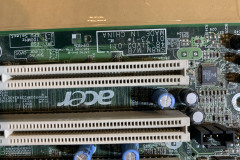
Well the second revision wasn’t any better, same core parts but different motherboard, ram and CPU. this time it was an Acer S88M Socket 478 board with a Pentium 4. It appeared to be going good but the voltages were all over the place and the CPU just wouldn’t report the correct clock speed. The bios was impossible to flash on this thing as it came from a prebuild from back in the day. So I was stuck once again.
Revision 3 – it’s final form
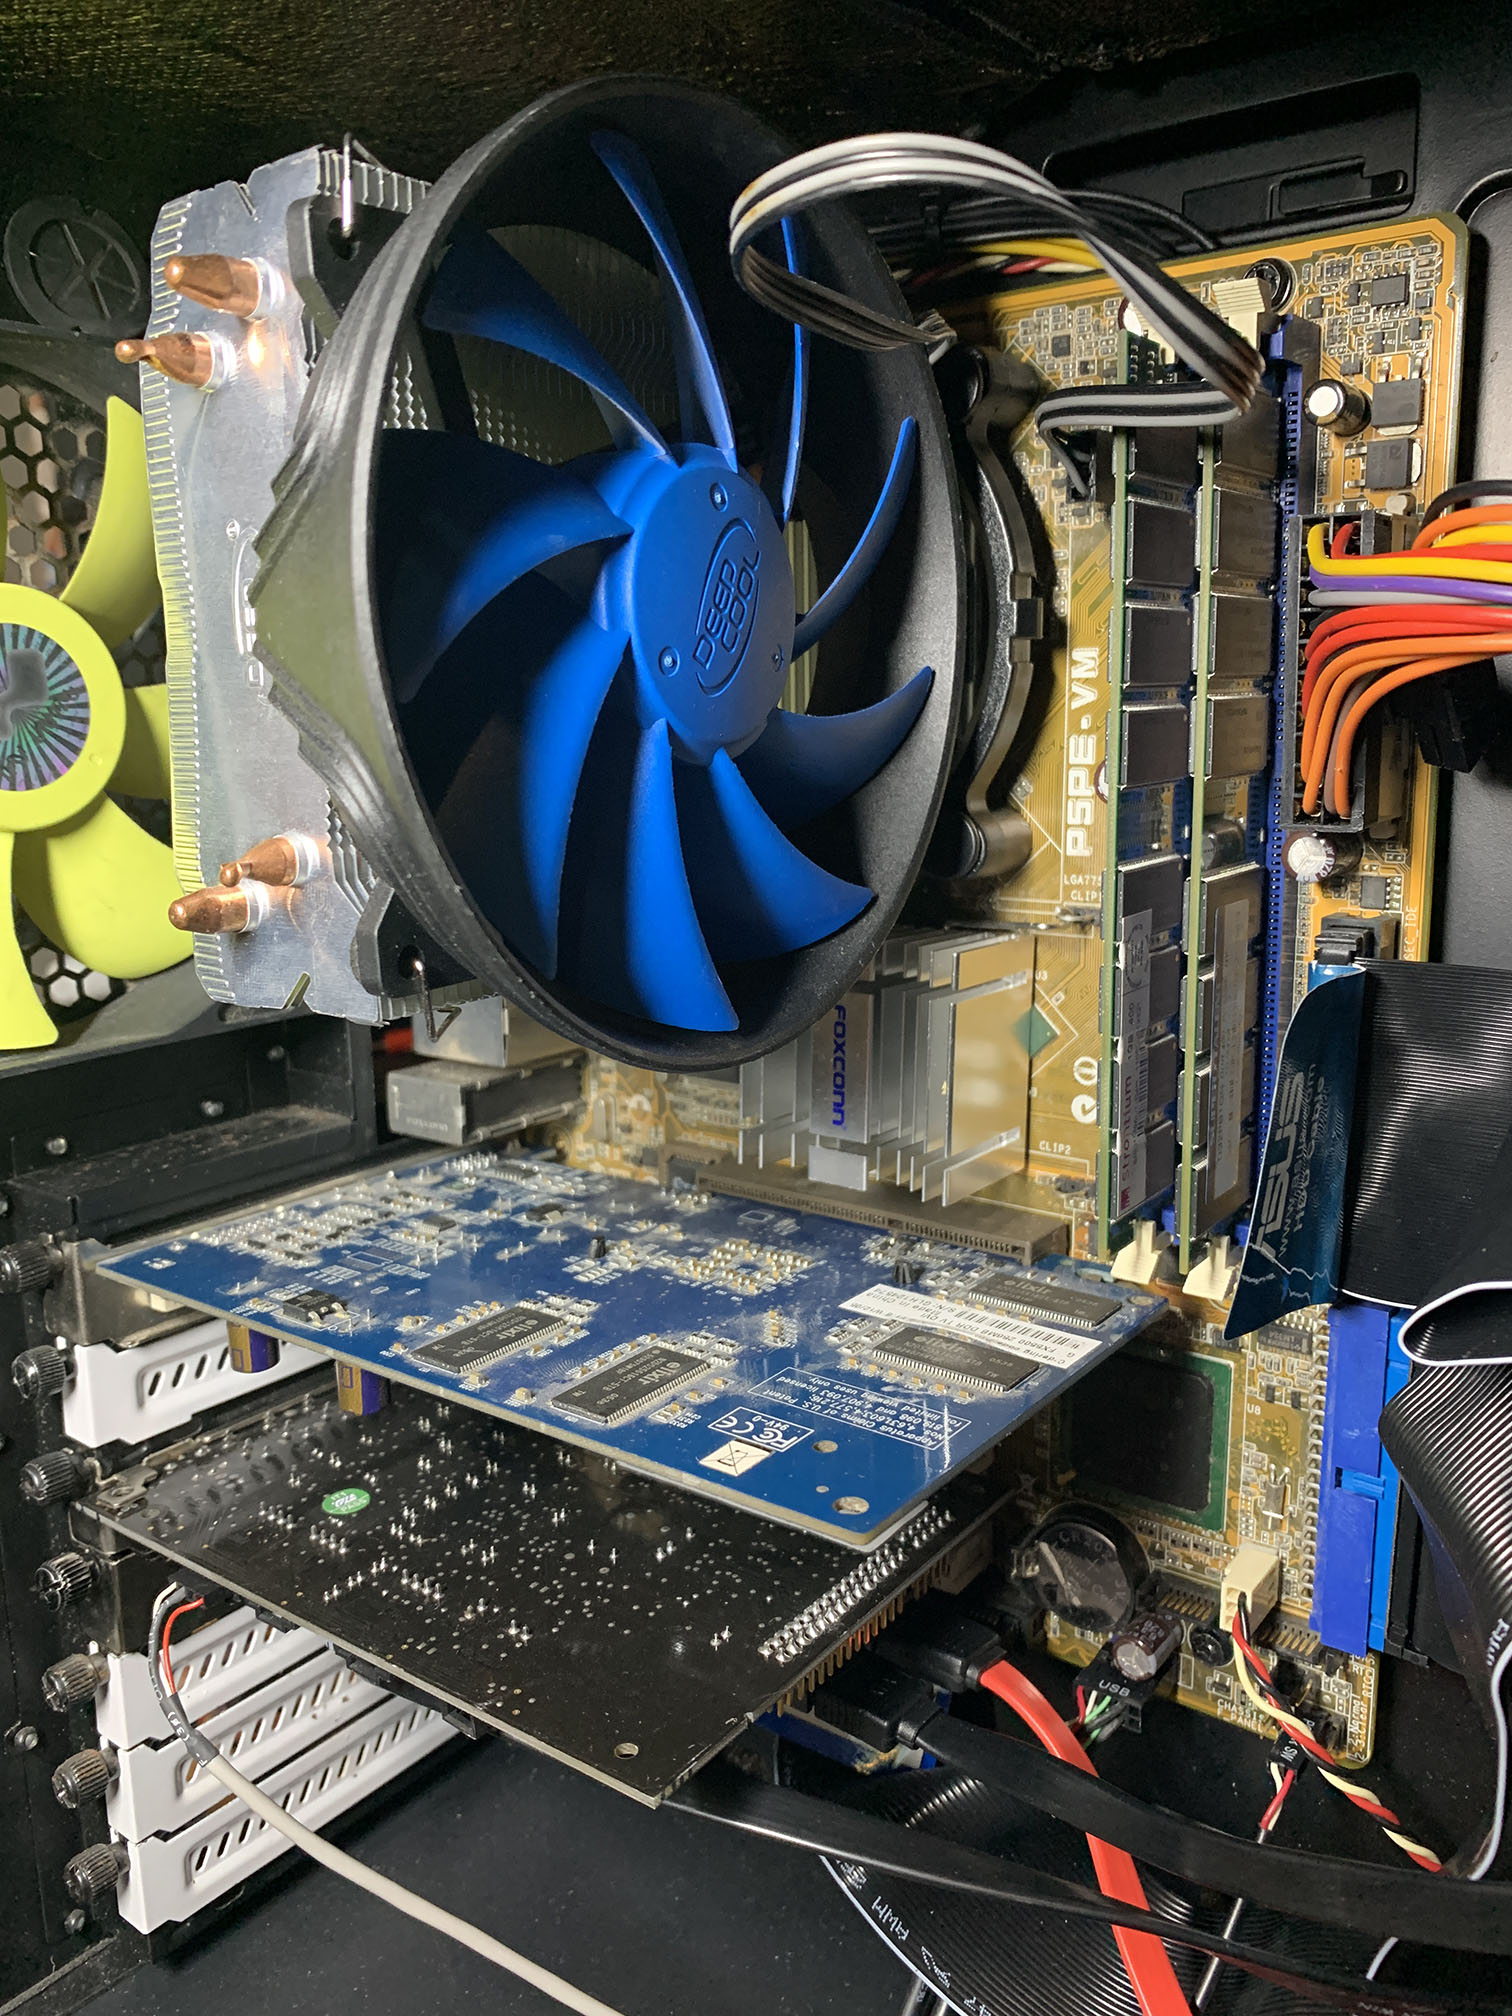
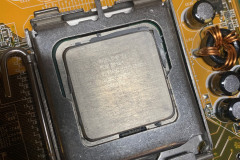
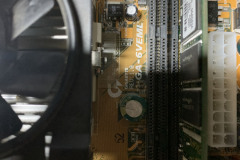
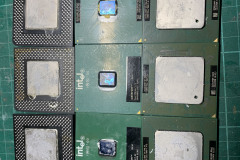
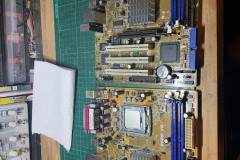
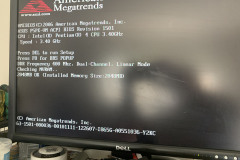
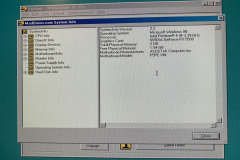
Well after a lot of headaches with this build I came across a bundle of motherboards on trademe that happened to have some early socket 775 eta motherboards. There were 3 Asus P5PE boards that could take DDR400 ram and a Pentium 4 3.40ghz processor! This was the golden moment for me, not only would I have more modern hardware that was less likely to fail, but gained AGP, and USB 2.0. This board was the perfect candidate for this build and I now even had 2 spare setups of ram, motherboard and CPU’s.
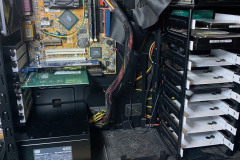
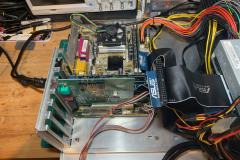
The final stack of parts I went with was:
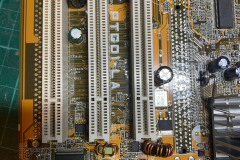
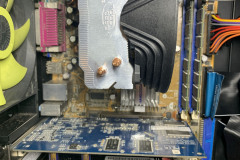
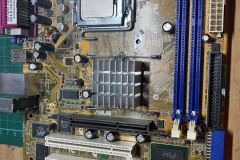
- Asus P5PE socket 775 motherboard
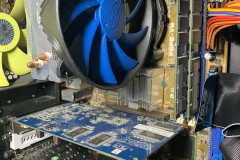
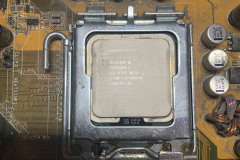
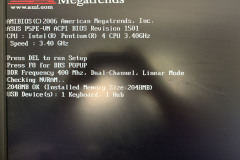
- Intel Pentium 4 3.40ghz
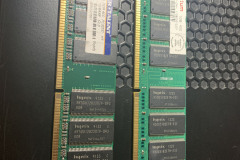
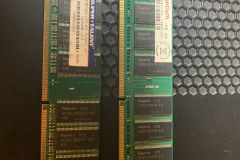
- 2GB of DDR400 ram ( i’ll share the trick I used to get this to work )
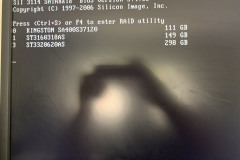
- 128GB Kingston SSD
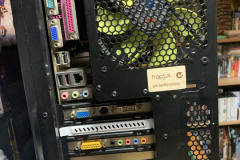
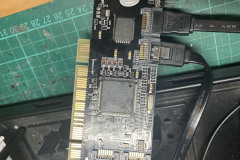
- PCI to Sata II card
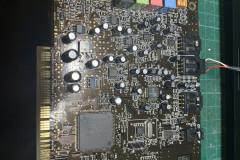
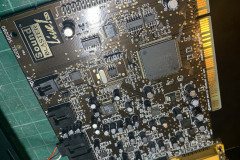
- Sound Blaster Live PCI card
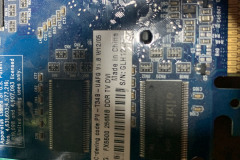
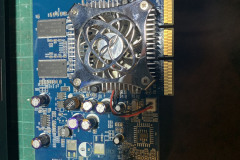
- 256MB FX5500 AMD AGP graphics card
- Floppy Drive
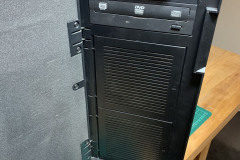
- DVD Drive
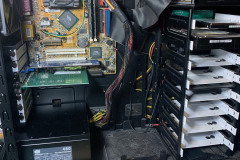
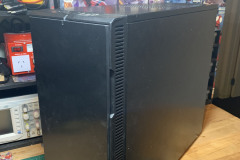
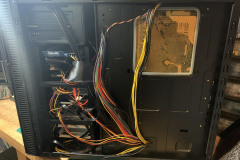
- Fractal Design R2 case
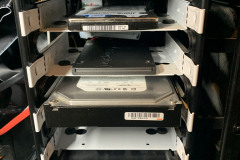
- a few old HDD’s for storage
Getting software onto this rig was no easy task, annoyingly I didn’t have any easy way to transfer files onto this machine without burning disks all the time. So I opted to pull one of the drives out and dock it into my main Windows 10 rig and downloaded all the files.
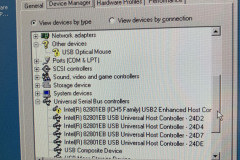
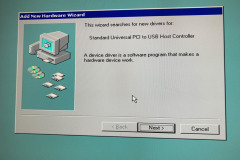
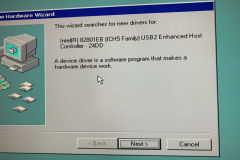
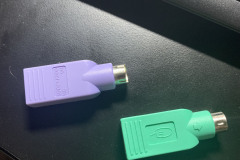
The drivers I needed were mostly all here on Asus’s website ( somehow still hosted ) or here on Phil’s Computer Lab site. The biggest pain in the butt that I had with this build was getting drivers installed. I had a lot of issues getting the USB drivers to work, mostly because I didn’t have any PS/2 mice or keyboards around which made it incredibly difficult to install things and made going into safe mode a constant occurrence when I got the wrong ones installed ( even tried PS2/usb adapters ). But once I found a PS/2 mouse I finally got all the drivers and software installed and managed to even gets some games installed.
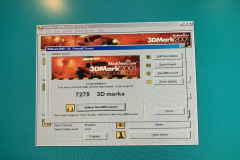
After all that was sorted out, I ran some benchmarks using 3D Mark 2001 and got some impressive scores for Windows 98 of 7275. Due to the FX5500 having DVI I can even run 98 on the 24″ screen over HDMI/DVI cables and I can even use my USB/HDMI KVM full supported! This was a pretty hard project and still has some room to improvement.



0 Comments