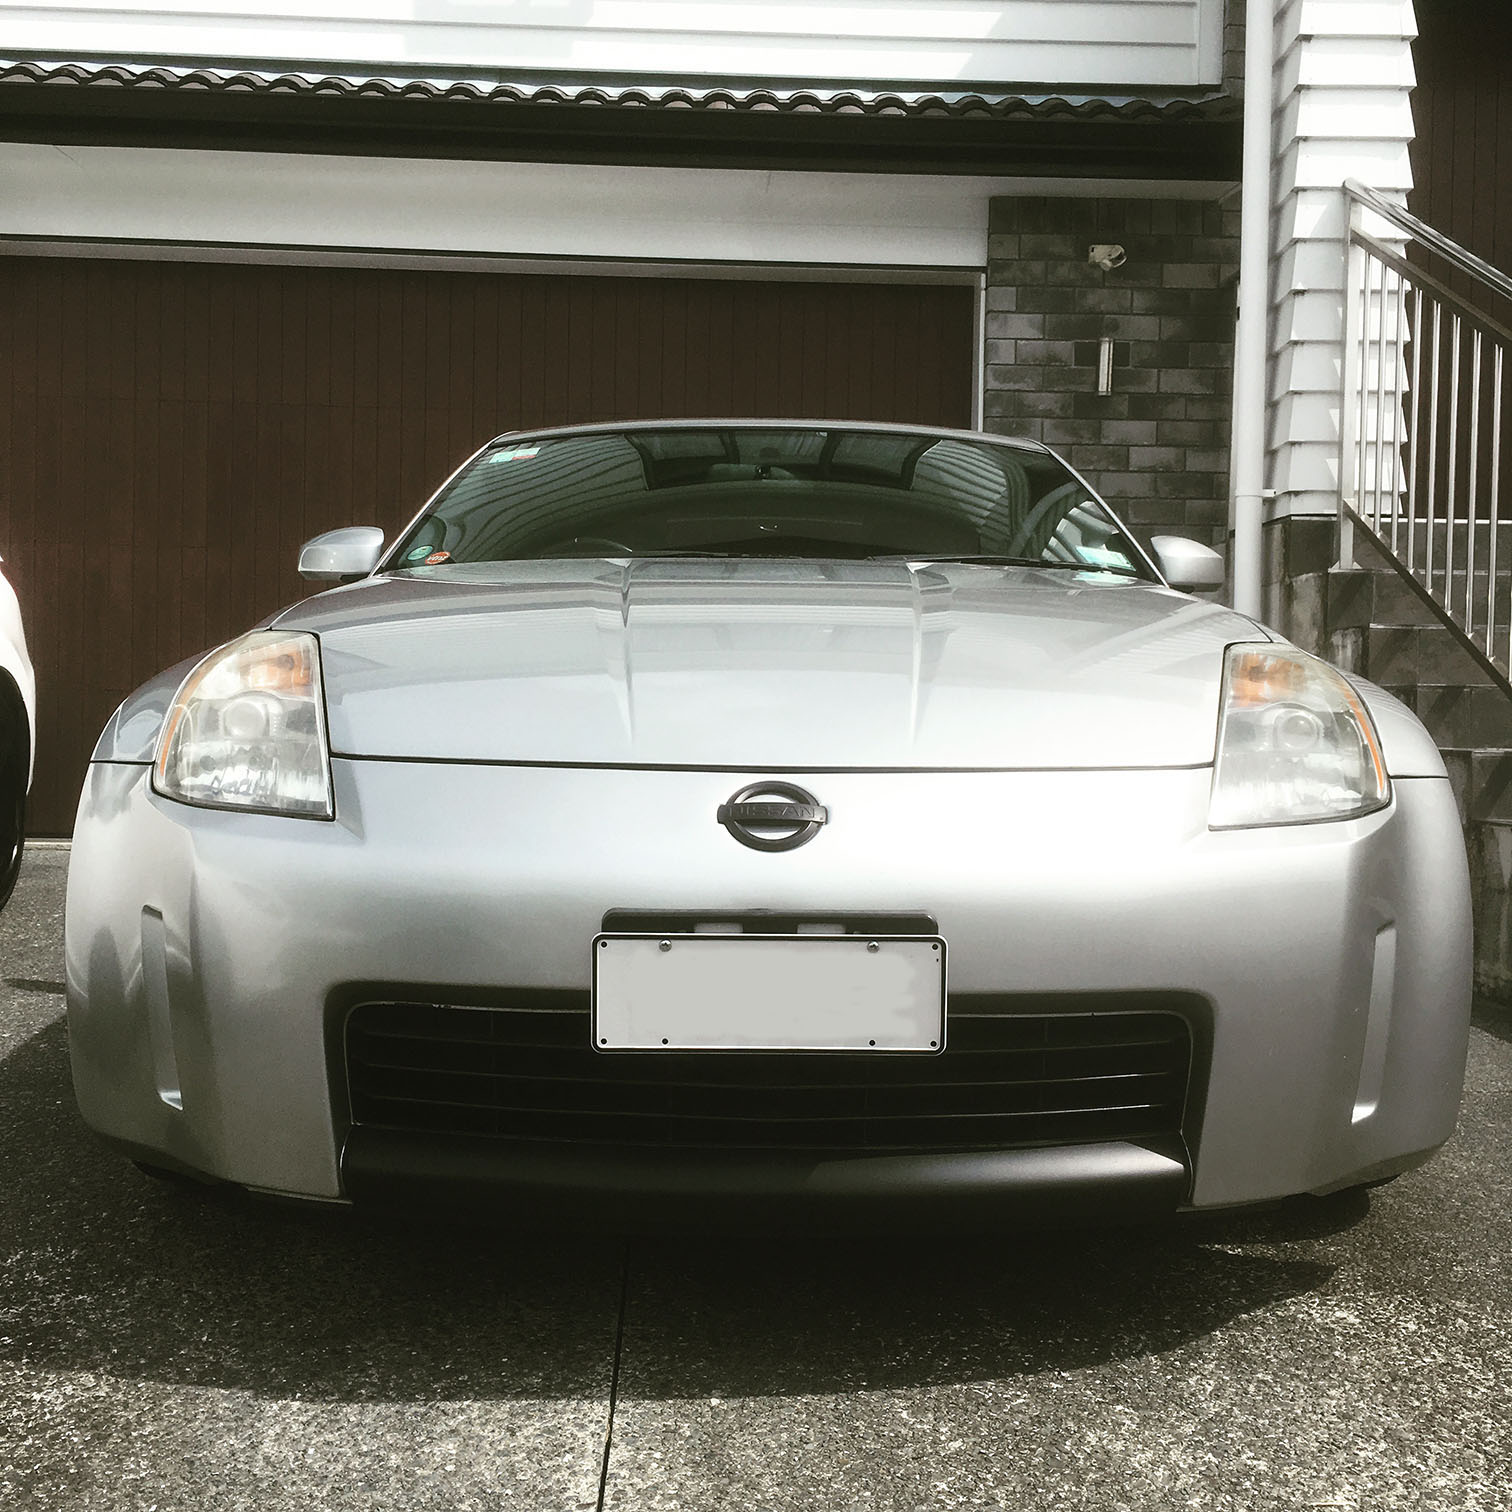
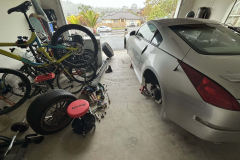
In an on-going to quest to log all the projects that I work on I am going to keep this article as a running log of all the improvements, changes and maintenance I have done to my 350z.
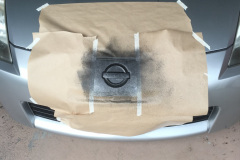
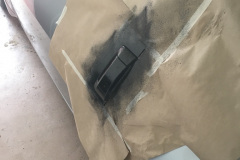
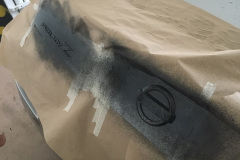
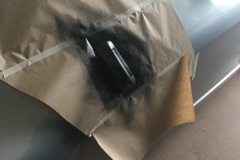
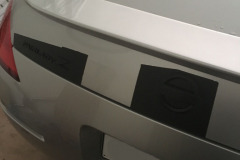
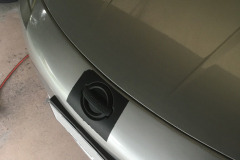
Blacking out the badges and bumper
I had seen a few Z’s rolling around with blacked out badges and I really liked the look of it. A quick google later and it seemed pretty straight forward to mask off the car and apply some matte black plasti dip. It won’t be the longest lasting stuff but it is easy to remove and put the car back to stock later on.
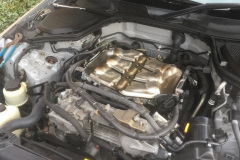
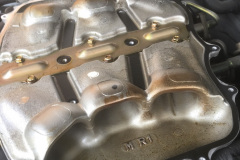
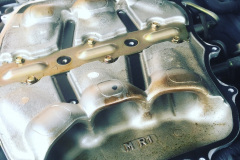
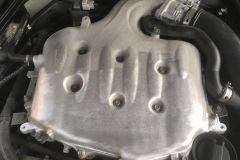
Installing an intake plenum spacer
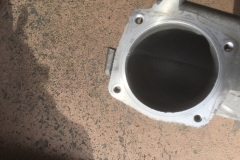
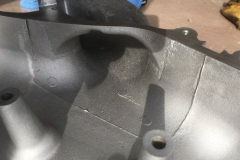
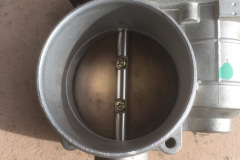
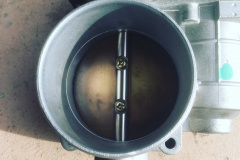
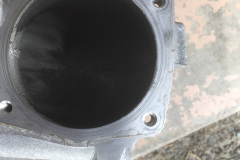
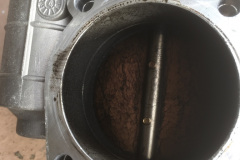
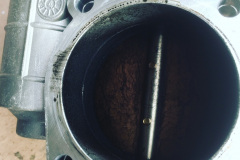
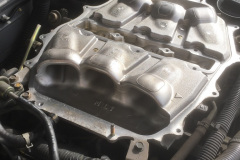
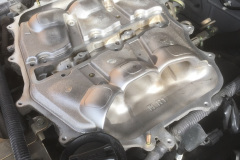
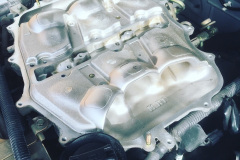
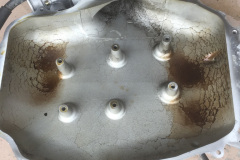
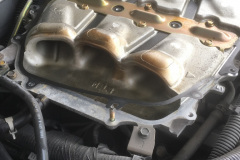
One of the few “performance upgrades” you can do to a stock VQ35DE is to add the plenum spacer into the intake. This wasn’t too hard to do and it gave me a chance to clean everything out, as you can see there was alot of sooty crap in the intake that I could remove and also cleaned the throttle body. One thing to note is that you are going to have to do the throttle position procedure after you clean that thing as the car is going to run pretty bad at first.
Fixing an elusive water leak
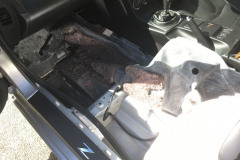
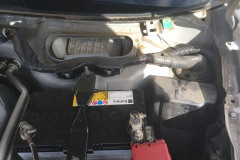
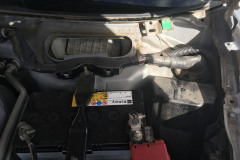
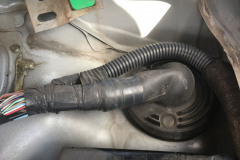
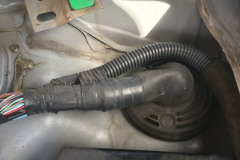
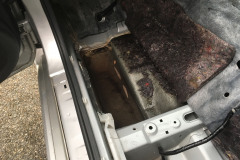
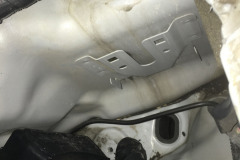
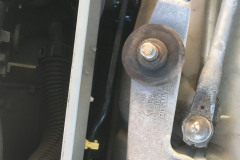
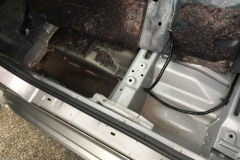
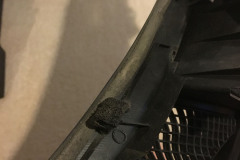
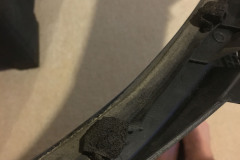
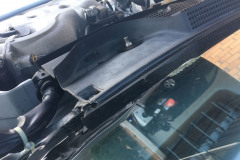
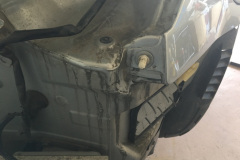
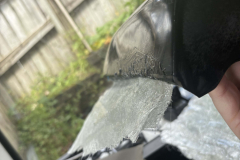
Well after a couple of years owning it the car developed an annoying leak only when parked on the specific angle in my driveway. This leak was extremely hard to track down, but in the end what was discovered was that the water on a certain angle was going under the plastic cowling, down the firewall and along a tube into the cabin. So if this happens to you, it is the rubber seal on the cowling that has gone bad ( the bit that touches the windscreen ). I ended up going through the whole car, engine bay and getting the inside dehumidified and removed all interior to get it sorted. What a pain in the arse.
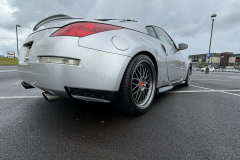
Installing a stock style rear wing/lip
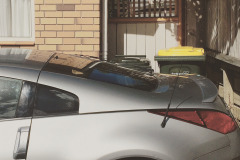
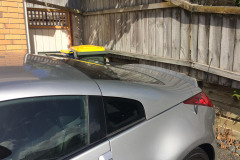
When I first go the car, it had no wing which wasn’t an issue as I knew I could fit one later on. Well trying to track one down locally was not an easy feat and I ended up ordering one online that actually came pre-painted and also came with the correct mounting adhesive as well, an easy Sunday job.
Fixing the annoying boot lock issue
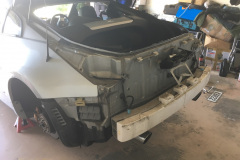
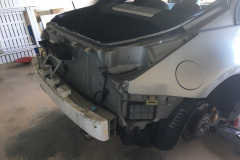
Apparently a common issue with these, but the boot lock switch decided to stop working one day and I had to use the pull cord ( its mounted in the rear strut tower thing ). A small weekend project and I had the bumper off and the switch cleaned. The switch just needed some cleaning and water resistance.
Replacing a broken drivers door handle
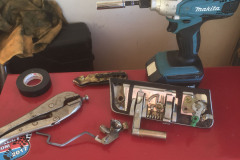
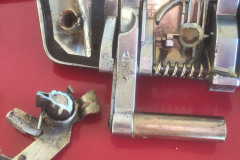
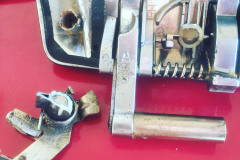
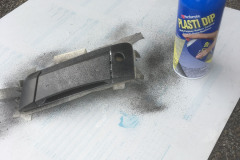
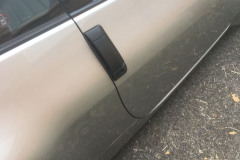
I seemed to be going through an aging window for this car and had another part fail due to age, i’m sure its common on all cars but this was a pain to do. The plastic actually broke inside of the handle and the bolt wasn’t able to be undone. I ended up slipping a pair of vice-grips in wrapped in cloth to hold the plastic to undo it. I also had to re-plastidip the handle as well.
Installing a rear view camera and sound proofing
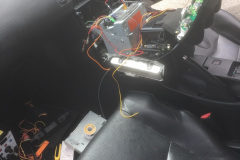
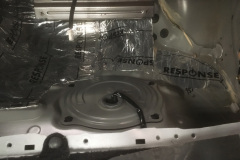
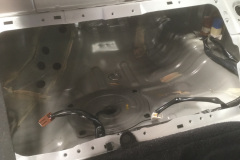
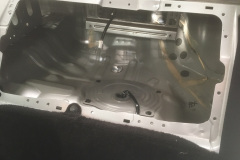
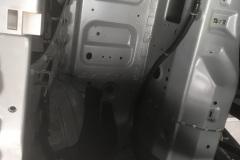
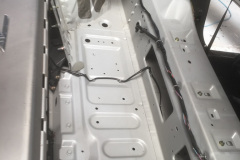
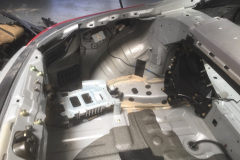
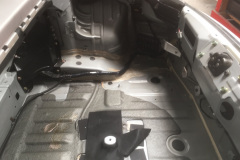
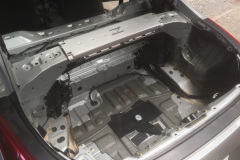
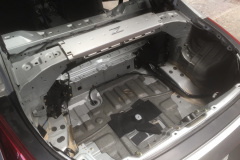
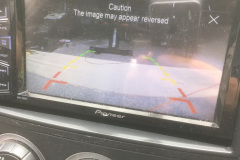
As a bit of an xmas present to myself I wanted to get a rear view camera installed as my headunit supports it as well as put in some sound dampening to lower the road noise and get a better sound from the Bose stereo. It made a huge difference in audio quality and you can actually get a reversing light housing that can hold a camera for the 350z, so it looks completely factory!
Installing high flow catalytic convertors
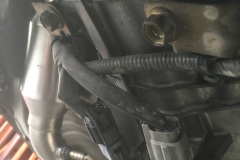
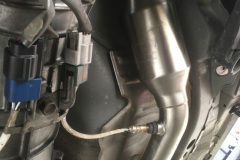
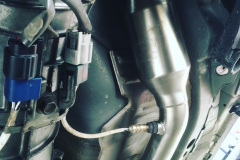
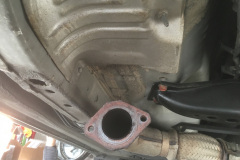
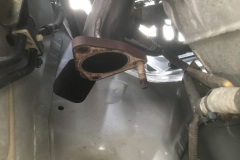
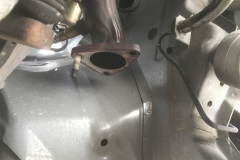
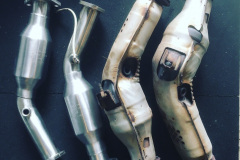
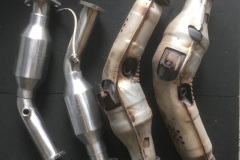
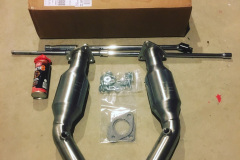
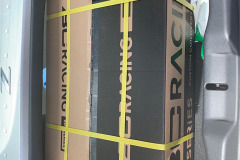
The other thing that is apparently good for these cars is to swap out the cats to some good quality high flow ones. I ordered some USA made cats from Kinetix Racing. They sound awesome and drop some weight too. The car feels a little bit more responsive but only by butt dyno. The old cats are pretty hard to get out, needing some really long extensions to get to the header bolts, but once you have that done you are golden. Also check the bolts as they are imperial not metric that come with the kit.
Repainting wing mirrors
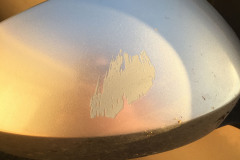
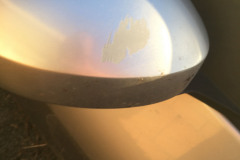
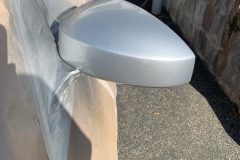
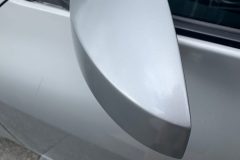
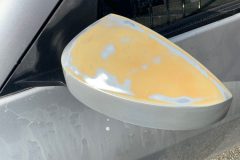
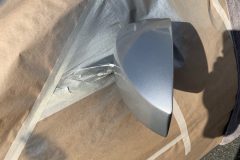
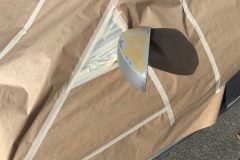
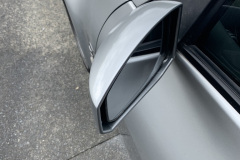
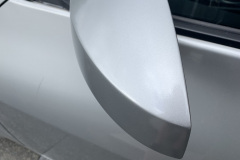
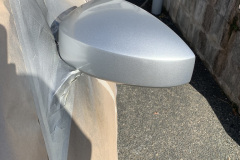
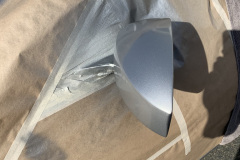
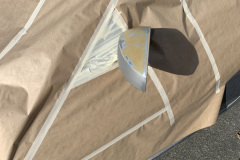
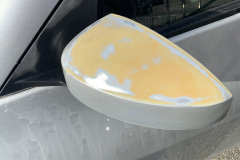
Prior to me owning the car, someone must have had the wing mirrors painted as I had done a gumboot rally in the past and the paint came off when I removed the sponsor stickers ( it shouldn’t ) and the other mirror after a few years in the sun started to crazy crack and the clear coat came off. I went down to my local auto paint shop and got colour matched cans of lacquer paint and stripped them down and gave them some fresh paint and plenty of clear coat.
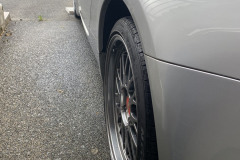
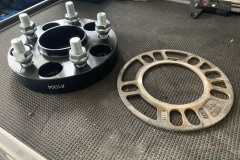
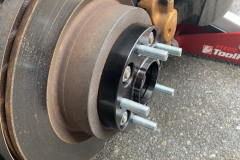
Installing wheel adapters and BC Gold coilovers
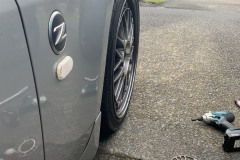
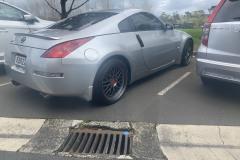
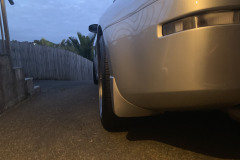
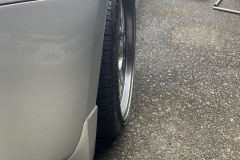
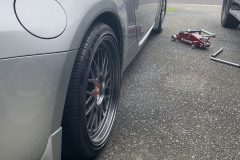
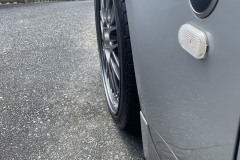
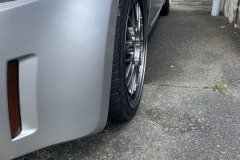
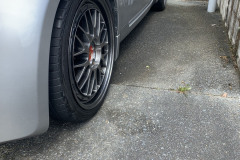
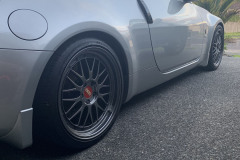
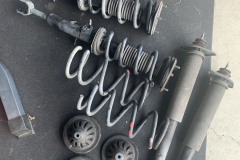
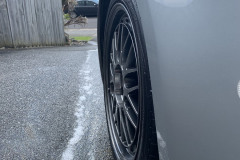
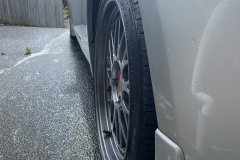
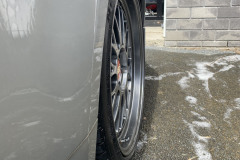
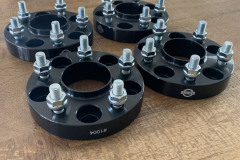
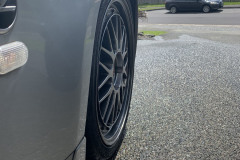
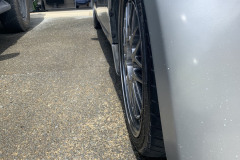
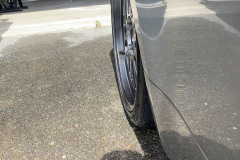
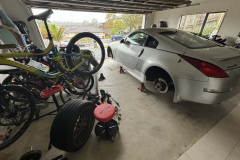
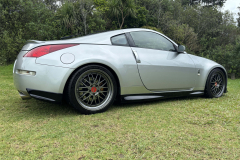
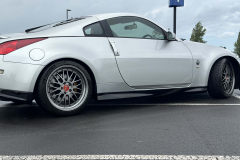
One thing that always bugged me with this car was the spacing and offset of the wheels. The BBS LM rims looked awesome but just didn’t fill out the guards enough for my liking. Since the only way to change this ( other than reverse mounting the rims which was just as expensive ) was to buy bolt on spacers. The car actually came into the country from Japan with 3mm spacers to clear the brakes which I didn’t like if I was going to track the car. since I was going to have to get a certification for the spacers I also decided to install some BC Gold Coilovers at the same time and get it all certified at the same time.
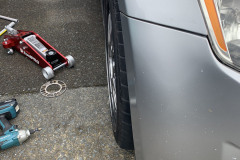
The install was pretty straight forward and was all done in a weekend. I then took the car down to Mag and Turbo and got the alignment and ride height set even all the way round. Doing this gave me the chance to corner balance the car as they always are a little uneven corner to corner. With the spacers pushing the wheels out and a little lower ride height the car looks 100% better.
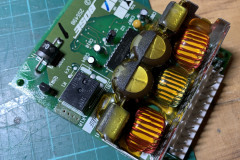
Fixing the Bose Subwoofer Amp
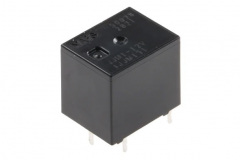
As it comes, parts start to fail over time and the Bose subwoofer amp is no different. It started with the sub cutting out when going over large bumps and then it just wouldn’t work at all. A quick google shows this is pretty common and its the 12V relay that goes bad after a while due to all the vibration. The original part isn’t made anymore but I ended up using a panasonic replacement .
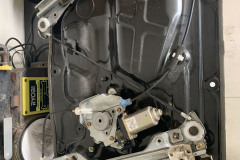
Faulty Window Regulator
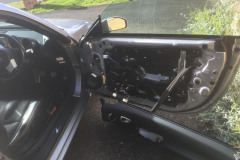
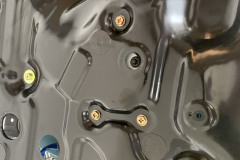
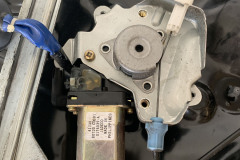
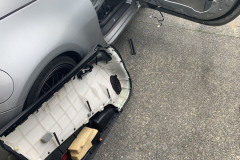
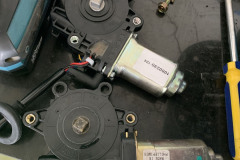
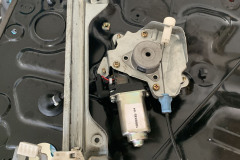
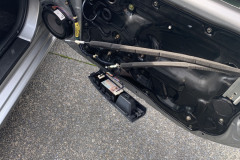
Almost at the same time as the subwoofer amp, the regulator started dying in the drivers door, something apparently common. Apparently it is due to manufacturer defects. so I found a third party replacement for it. Its pretty straight forward to install but you need to calibrate it once it is installed with the little button built into the door itself.
Diff Bushing Upgrade
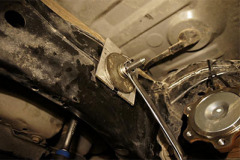
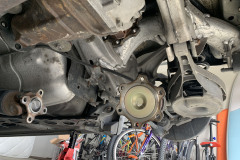
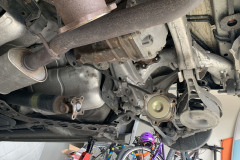
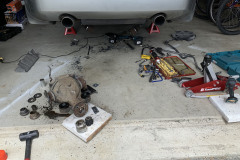
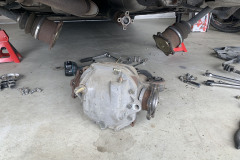
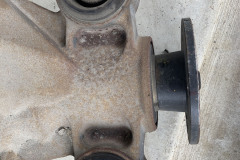
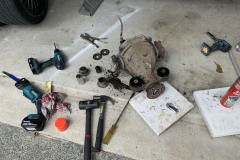
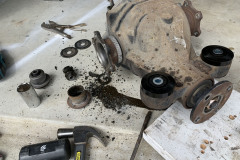
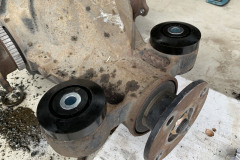
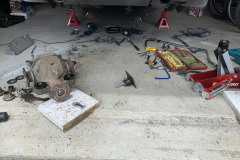
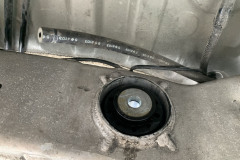
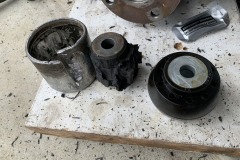
When I was upgrading the coilovers I saw that the top diff bushing was starting to perish, so I put an order through for a set of White line bushings. The kit is pretty straight forward to put in but there is a lot of things to remove to get to them. I used this video as a guide.
- Remove the rear swaybar, this will fight you a lot.
- Remove axle bolts to the diff, mark them so the bolts go back in the same place.
- Remove the 4 diff bolts to the driveshaft, mark them so they go back in the same place and also mark the driveshaft so it goes back in the same spot.
- Remove the diff housing breather hose at the top of the diff, this is not easy to get to.
- Remove the 3 diff bolts that go into the bushings. Make sure you have the jack under the diff at the stage so you can lower it down.
- Once the diff is out, you might be lucky to be able to knock the old bushings out of it, I had to cut one out with a drill and a reciprocating saw.
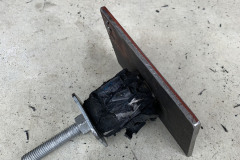
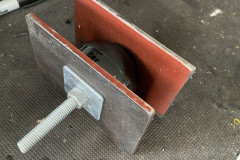
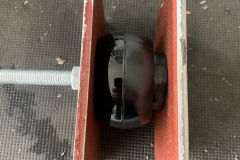
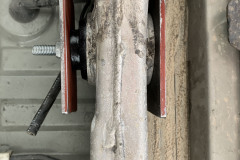
- The bushing in the rear subframe will be the worst and take the most time. This was a nightmare to remove and I used a combo of a drill, a reciprocating saw, a jig saw and my custom made vice I used to be put the bushing in.
Once you do all that, the rest is pretty easy, its just the same thing in reverse. To get the new sub frame bushing in, I made a custom vice with 1/4″ steel plate with a long threaded bolt and a couple of washers. After its all back in again, I went for a drive and then rechecked all the torque on the bolts after about 100km.
Finally fitting the Nismo Style body kit
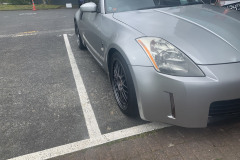
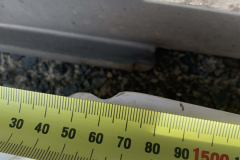
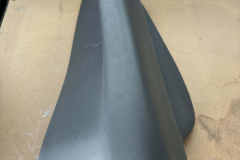
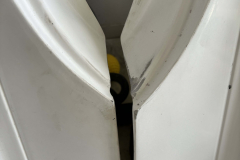
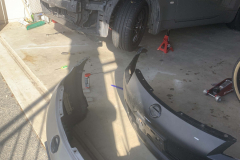
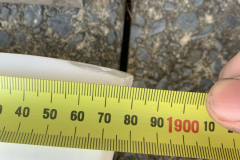
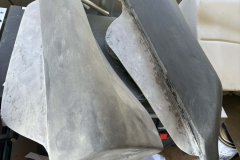
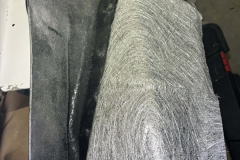
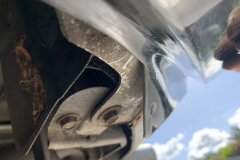
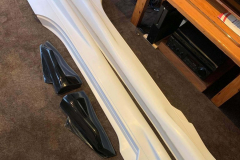
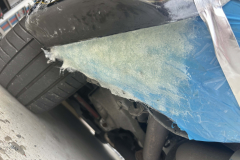
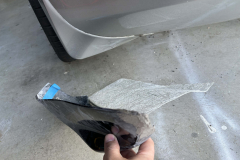
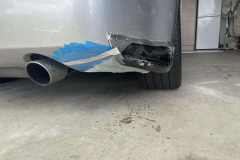
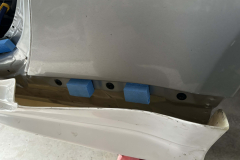
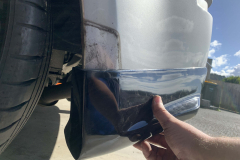
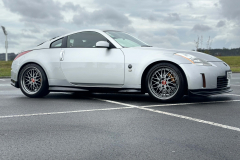
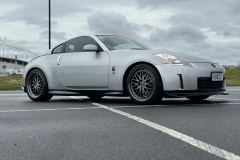
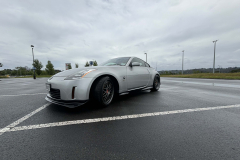
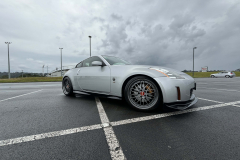
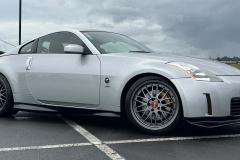
This was a look I have wanted for ages, the two tone Nismo body kit that has that ‘baby GTR’ look to it. Sadly I got a bit screwed over with these parts when I bought them. The reproduction kits were extremely poor quality and the side skirts were 15mm too short, poorly fitting parts. I actually went through the whole process of getting them extended, and getting the gaps fixed but actually got offered some genuine Nismo side skirts that would need the same amount of work and paint so I went with those in the end. The end caps were the same with fitment but were much closer to fitting and I just made them work.
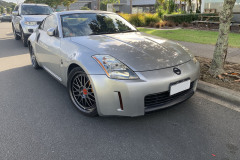
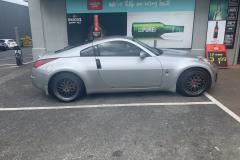
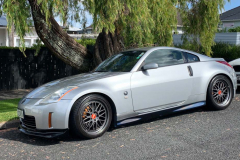
The Final Nismo Style Look
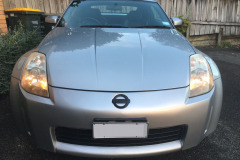
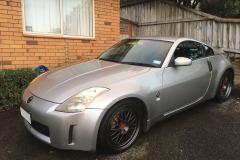
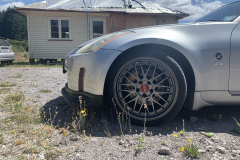
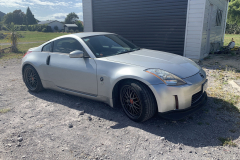
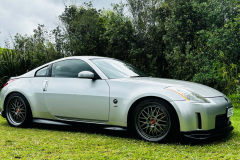
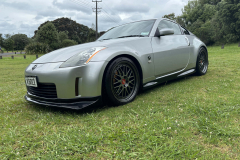
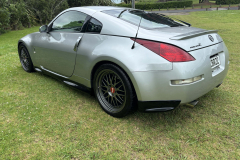
I think the kit turned out remarkably well. Silver is a very hard colour to match, especially with a 20yr old car that has had panels repainted and blended over the years but it still looks stunning.
This is an ever growing build log so keep and eye on it to follow along.

0 Comments