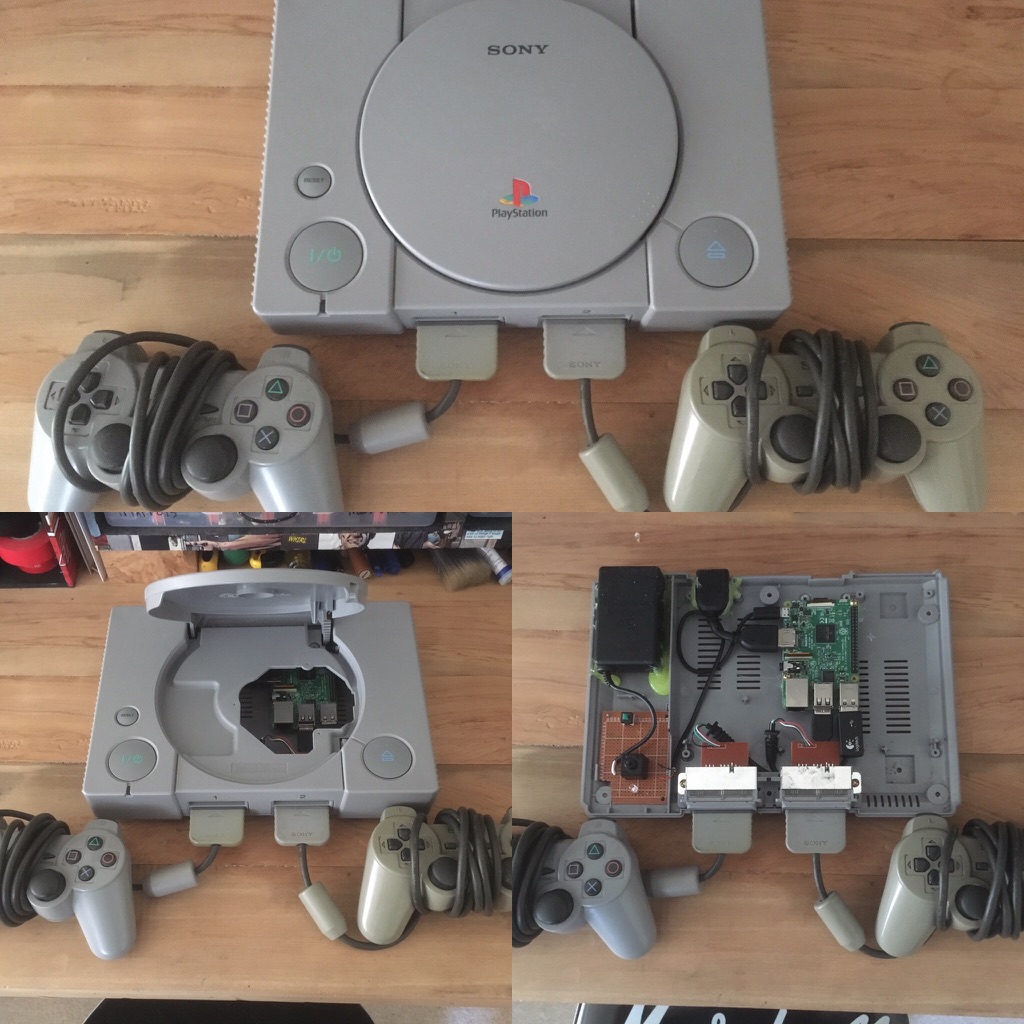
Seeing all the Retropie projects online got me looking at how I could put together one of my own but with a bit of a twist. I have seen a few people build a Raspberry Pi RetroPie rig inside a playstation shell before but they always used USB ports on the front for controllers, something I didn’t want to do. For me the main attraction of doing this project was to make it very hard to tell that it was NOT a Playstation PS1, so it had to have PS1 controller ports on the front of it. I opted for gutting/ruining one of the PS1’s I had that had a dodgy eject switch and no RCA outputs on it. I kept all the parts I removed for spares.
Controller ports
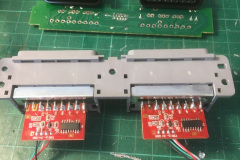
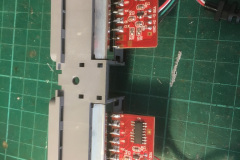
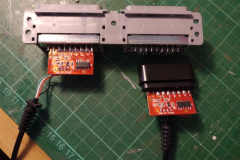
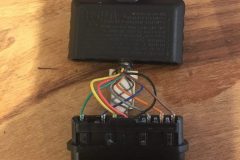
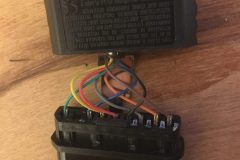
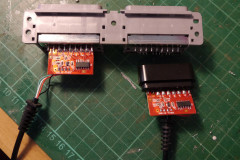
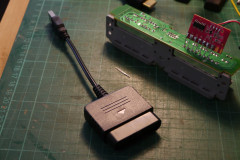
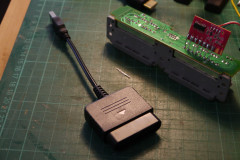
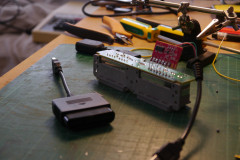
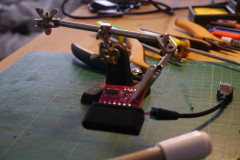
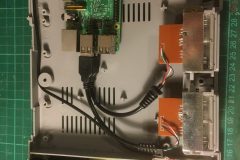
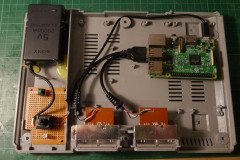
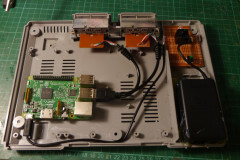
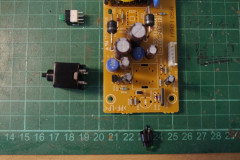
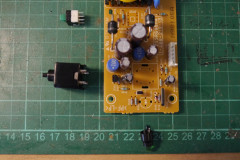
Getting the controller ports right was my main concern, everything else was pretty standard RetroPie after that. I found some PS2 to USB adapters on AliExpress that would work perfectly. The idea was to strip back the controller ports and adapters and just join the pins directly, using the PS1 ports that then push through to the Raspberry Pi 3B+ via usb. There was no reason it shouldn’t work, and it did!
Main Unit assembly
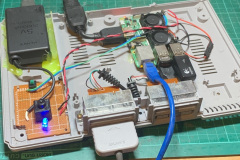
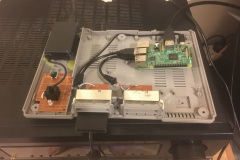
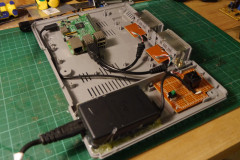
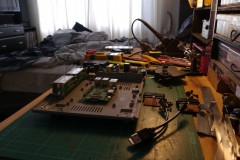
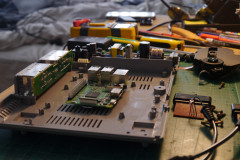
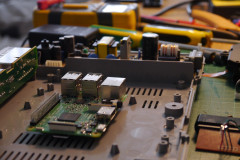
After the controllers were working, it was pretty straight forward to get the rest done. I just had to strip the PS1 case down, remove all the standoffs, dremel out the eject area to get the lid to close and then use some of the cut off standoffs to glue back in and mount the Raspberry Pi. The Power supply is actually a PSP power supply mounted in the same spot as the stock one with ALOT of hot glue, the figure 8 power port even lines up with the stock hole in the back! It’s like I was suppose to do this. To get the PS1 power, reset and LED to work, I stripped these off the stock power board and made up a small stripboard to mount it all. In it’s current configuration, the Power button gives the unit power, and turns the LED on and the Reset switch runs a soft shut down script from RetroFlag.The HDMI cable is just a small flexible extender I found in a box at work that I then glued into the case where the standard port would be.
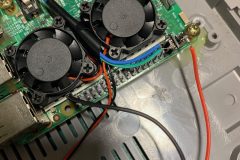
One thing I did notice was that I was getting the little over heating and over voltage icons in the corner of the Pi when running for a while. So I actually dropped the USB cable for the power and connected the power directly to the GPIO pins and upgraded the heat sink to a dual fan setup, it has been fine ever since. A big reason I changed to having a reset switch was I corrupted a couple of installs and even killed a 64GB SD card, so do not just rip out the power of your PI.
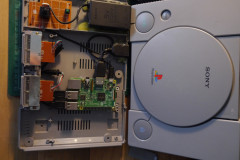
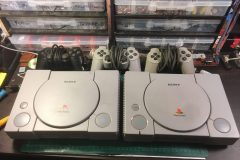
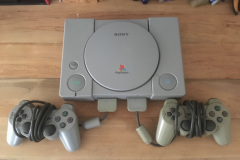
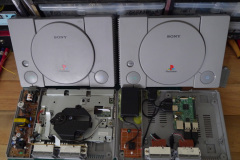
From the outside you would never know it was a Raspberry Pi on the inside except for the HDMI port on the back. Here is a side by side of a real PS1.
Software
Everything that runs on this is based on RetroPie. I did change the way my roms loaded by loading them off a USB stick instead of the SD Card, this allows me to update, upgrade my install without transferring all my roms every single time, something I really got sick of by the end of it. As I mentioned above, I did opt for making the reset switch run a soft shut down script from RetroFlag to stop corrupting my SD cards, I just haven’t figured out how I am going to label the outside so people know to do this.
Installing the OS is pretty easy but getting the install just how you like it can take weeks if not months. Personally, I like the tronkyFran theme as it is clean and easy to use for anyone and I recommend ETAPrime for content on how to get the most out of your Pi.
Materials / Parts
- Dual fan setup
- PS2 to USB adapters
- PSP power Supply
- Raspberry Pi 3B+
- Playstation 1 console ( ideally dead/broken )


Hey! I know this post is 4 year old but I’m going to build something similar and I’m curious to why you chose the PSP power supply (5V 2A) for powering a 3B+, when I use a 2A adapter through USB it always shows a lightning icon (not enough power). Did it happen in your build?
I have also seen someone use the built in PS1 power supply (7.5V 2A) through a DC-DC step down and it showed the lightning icon. Thanks!