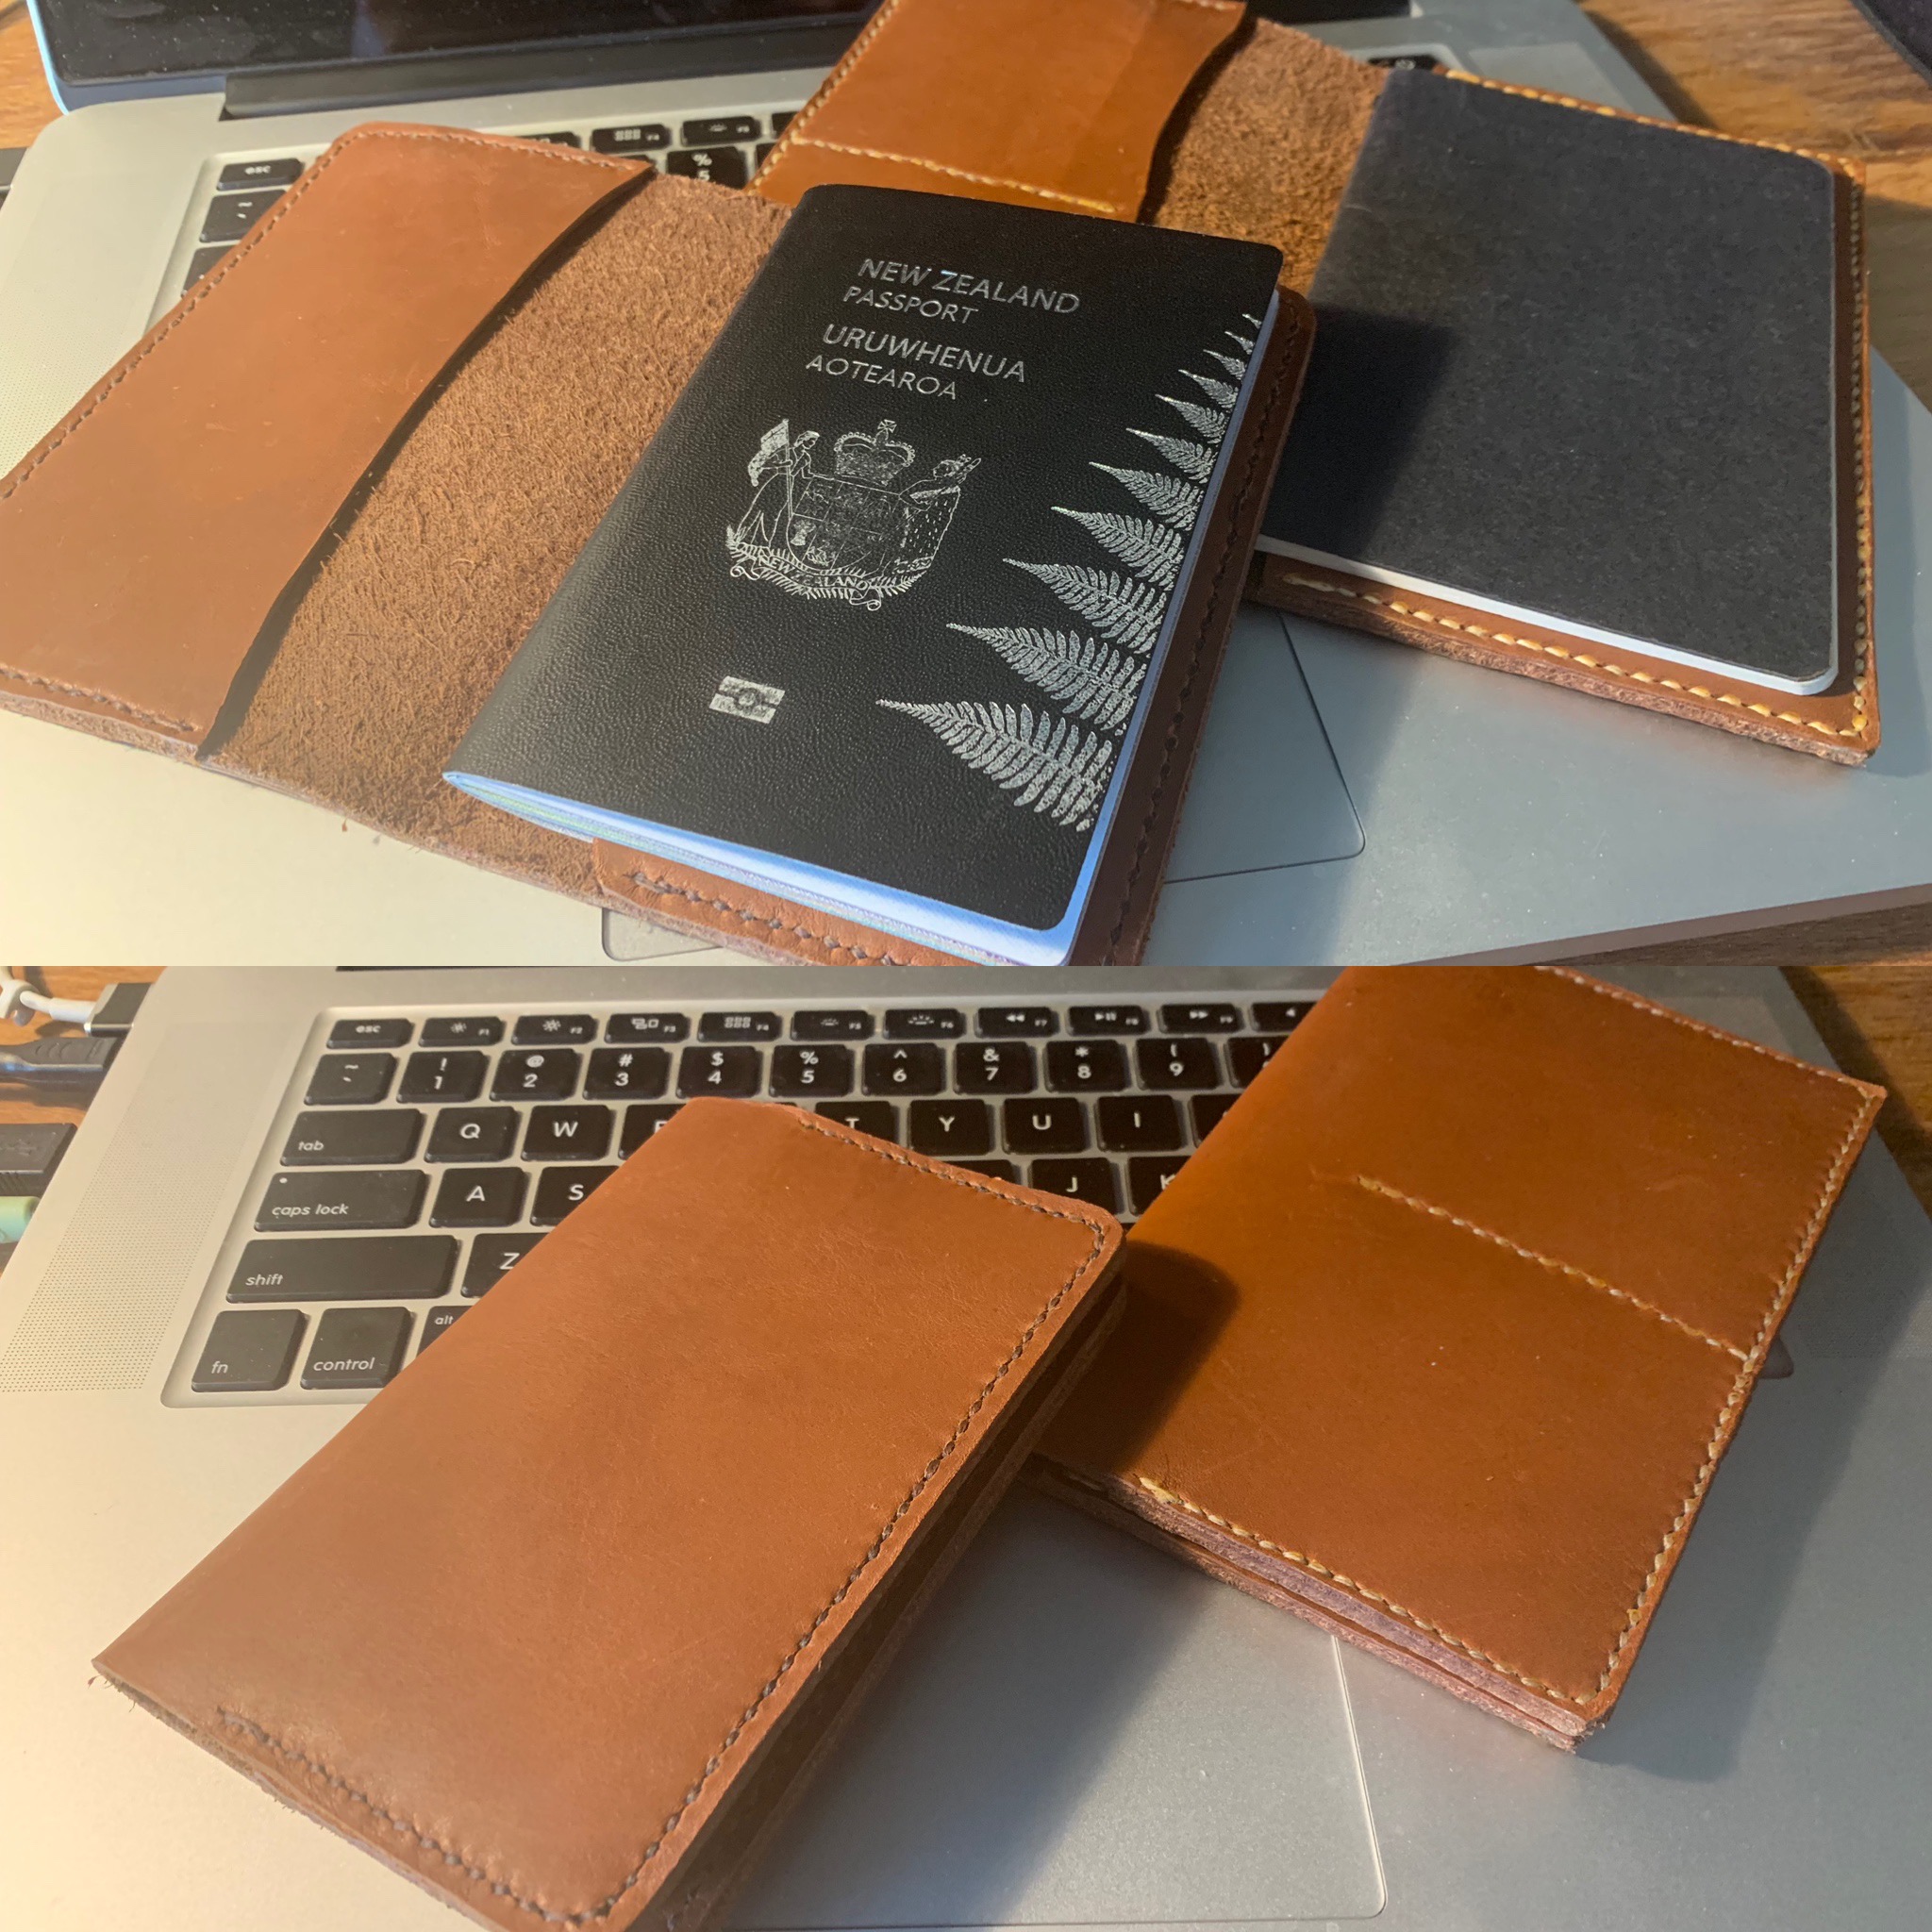
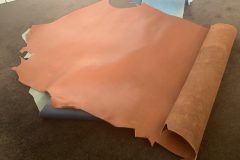
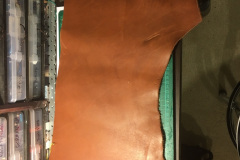
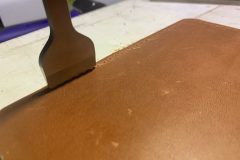
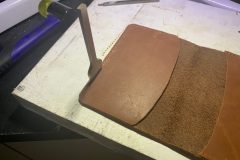
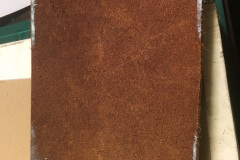
Since forever I had carried one of those horrible plastic ticket and passport holders you get from the travel agencies when they give you your tickets. I have always destroyed them or them disintegrate by the end of my trip. I finally gave in and purchased some scrap leather from Trademe and did some digging online to find some templates I liked. I actually had a few projects in mind for this leather and actually ordered some proper tools for the job. You can see my other leather work project here.
Layout and templates
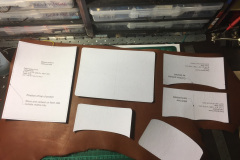
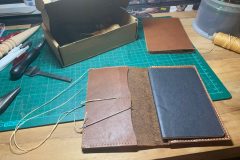
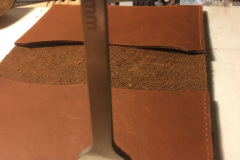
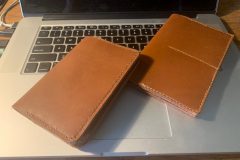
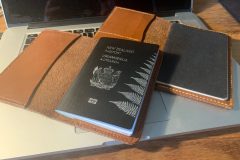
As I mentioned, I did some digging around and found some templates that worked for me. I actually decided to make two at the same time, one for a passport and one that can fit the typical field notes booklets. There are plenty of options online and I can’t find the specific ones I used anymore but ones like this or this work fine.
Figuring out how to sew leather
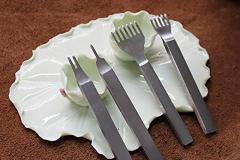
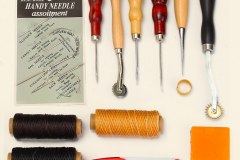
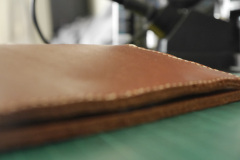
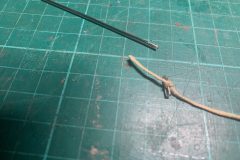
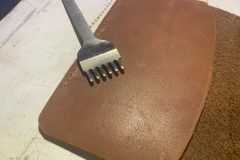
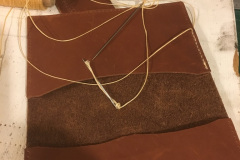
Till this point in my life, I had never sewed anything more than button on a shirt, so taking on full saddle stitching was something completely new to me. I ended up going with this tutorial from Black Owl Outdoors, it was easy to follow and suited my purposes. It was a relatively straight forward process other than I didn’t have a clamp for the leather so it was really hard on my hands the neddles. I never found a good way to stop the thread slipping out of the needle all the time though.
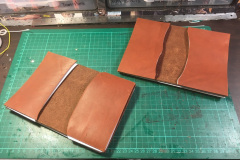
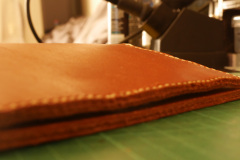
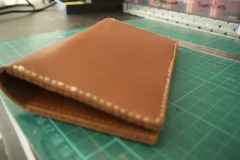
Both of the covers turned out really well with the only issue was that I smashed through the edge of one of them making the stitching wonky, but not too bad for my first attempt at making them. I have a whole lot more leather left if I want to make more. The only things I would change is that I would buy a clamp to hold the work piece and I would get some wax or stain for the leather to make it a bit more weather proof.

0 Comments