by bassybeats | Dec 4, 2019 | Wood Working
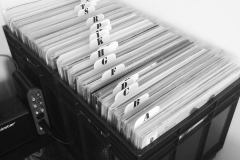
Seems all my projects are music related. After the dumping of some great records on my desk from a friends mother I very soon ran out of ways to store them, even with my new alphabetical dividers it was getting annoying to sort through them.
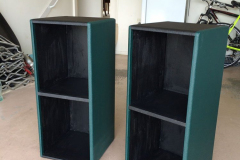
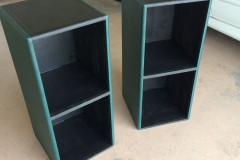
A bit of research turned up nothing that could handle the weight, looked good and could have speakers on top. A quick measure up and I figured I could build two big cabinets from a single sheet of plywood. Turns out Mitre10 Mega will cut boards to size for you for free!
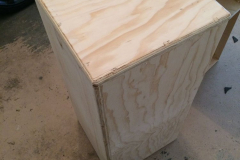
Building the solid way
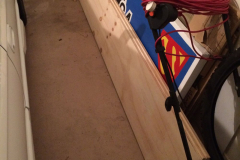
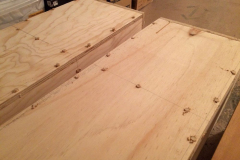
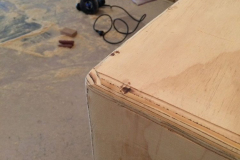
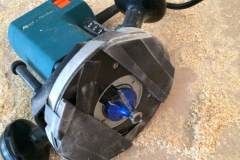
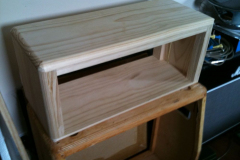
I opted for the glue and screw method and then replace the screws with dowel once it had all dried. It’s a quick method that if you are covering it anyway it is doesn’t matter what it looks like. The dowel allows me to run a ½ inch router edge over it all to give it that guitar amp / old TV cabinet look. I did botch one of the corners that I had to bog and sand after. Annnd my router doesn’t fit the ½ bit in it, so I had to make a quick spacer to lift it higher.
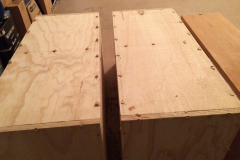
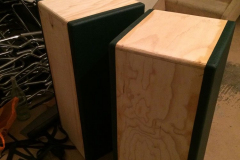
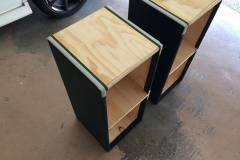
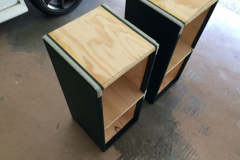
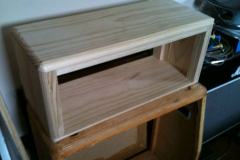
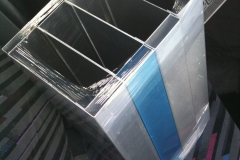
A quick test fit while I wait to get the tolex from Ryan from The Amp Shop. I ended up going two tone Green/Black which i’ve used with success in the past as I wasn’t going to get all in 3 yards ( sold in yards for some reason ).
Final Assembly
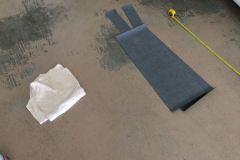
Using the same method that I use for covering guitar amps, cut into strips, do the sides first and then wrap the tops. You need to mask the sides when you glue the top / back or its a pain to clean up. I just used good old house paint test pots to black the inside. I ended up putting a little strip of tolex on the leading edge of the middle shelf as it was going to look funny.
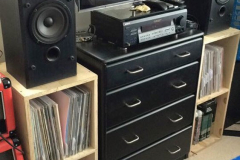
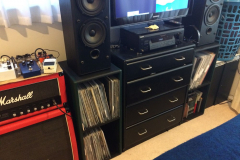
All in all I turned out well. Max capacity of about 240-260 records.
Materials:
- 18mm plywood 1200mm x 2400mm
- ADOS Glue
- Tolex from The Amp Shop
by bassybeats | Dec 4, 2019 | FX Pedals
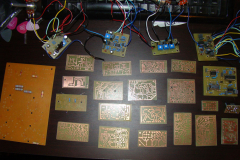
This project started when my flatmate said he could get whole sheets of PCB’s etched through his IT course from $8 a sheet. We couldn’t resist.
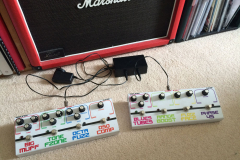
The idea was to have two units that housed 8 effects and theoretically saving us $$ on enclosures and parts ( that didn’t end up being the case in the end).
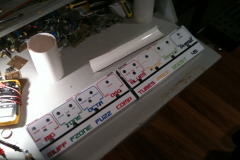
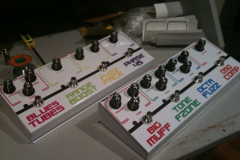
When went on to General Guitar Gadgets ( our go to source of DIY pedals builds at the time ). We ended up with; A Big Muff, 3 knob Tone Bender, Octavia, Orange Squeezer Compressor, Marshall Blues Breaker, Range Master Treble Booster, Silicon Fuzz Face and a Phase 45.
Version 1
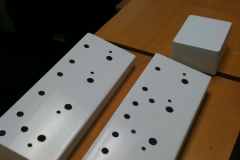
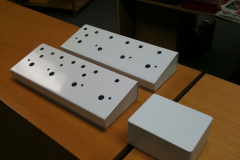
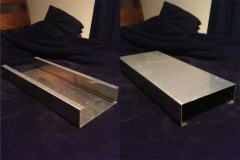
The first version of these 4 in total units were pretty rough. The bare steel didn’t adhere paint like the cast alloy cases we were used to. Not to mention our dodgy wiring. We constantly had hum and power issues trying to mix up positive and negative ground circuits in the same unit.
Version 2
A few years later I decided to rip them apart, got them powder coated and made up some matching pedal stickers for the top labels. The labels are the same stuff they use to sign write cars. They turned out pretty damn cool.
The Tidy Up
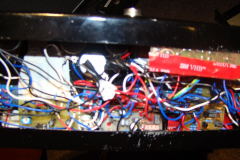
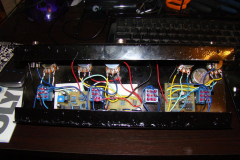
And in a box they sat for two years. I came to the realisation that I wasn’t going to use them anymore, so I went on a mission to tidy up the the insides and run clean power rails. Where needed I actually swapped the circuits out for better ones. The Germanium pedals got swapped for an LPB-1 and a newer tone bender with a voltage inverter.
One day i’ll most likely end up fixing my flatmates ones who had the same design flaws.
Materials:
- Custom folded steel chassis
- White powder coating from a friend’s fridge factory ( cost me a box of beer )
- PCB’s layouts from general Guitar Gadgets and parts from Jaycar or Smallbear
- Custom stickers by myself and printed at the uni printshop.
by bassybeats | Dec 4, 2019 | Amplifiers
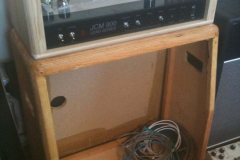
A nice quick fix and flick project. A very cheap find on Trademe was the JTM60 3 x 10. Very similar to the 1990’s JTM30, it was loud and the reverb was horrible.
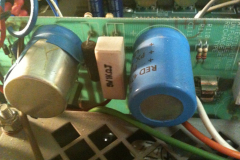
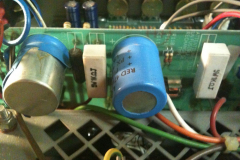
I didn’t end up taking many photos of this build but essentially I brought the amp faulty with the idea that I could fix it. Unbeknown to me, these things had a design flaw which saw the output tubes ( EL34’s ) mounted directly under the filter caps. The heat that dissipated off them went straight up and killed the caps.
I ended up giving the amp to Clarry at 34Audio and he remounted the new caps out of the way. I also found out that the amps effects loop plugs were prone to corroding and making a lot of noise. So a bit of contact cleaner fixed that.
I ordered some new JTM45 grill cloth as the other stuff had overspray all over it. Grill cloth is always a two person job.
Materials:
- New caps from Clarry
- New grill cloth from Mojotone
by bassybeats | Dec 4, 2019 | Amplifiers
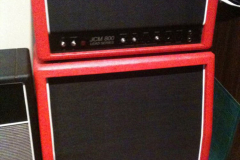
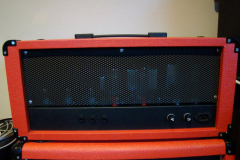
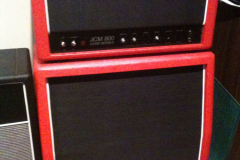
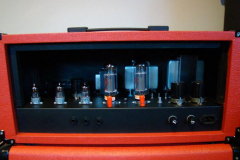
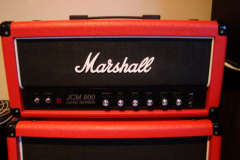
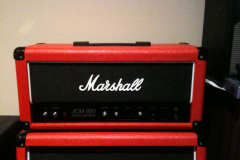
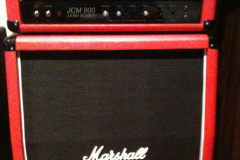
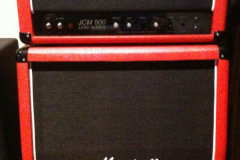
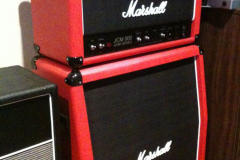
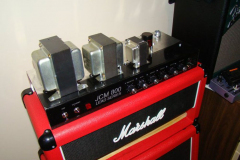
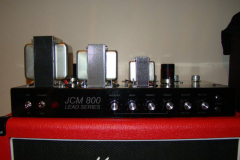
I always wanted a big Marshall but could never find the one I liked. Then I discovered Ceriatone. They had a hand wired JCM800 dual volume schematic for a hand wired amp. After doing the math and finding some bargain deals the project was a go!
Finding a speaker cab
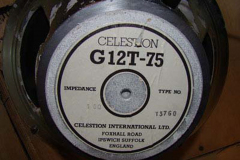
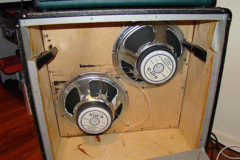
First part was finding a speaker cab to use. I was trying to find a cheaper but bad condition cab that I could re-condition and save some cash on freight. Trolling Trademe I picked up a 4 x 12 ( or so I thought ). On arrival it was pretty obvious that the cab was NOT a 4 x 12 but actually a 2 x 12. I said to the guy “if it has the half the speakers i’ll give you have the agreed price.” He agreed.
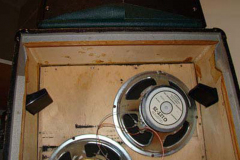
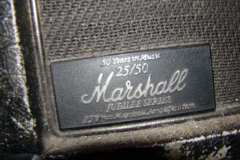
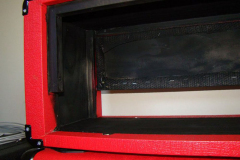
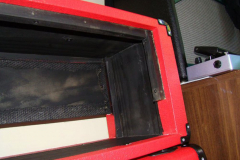
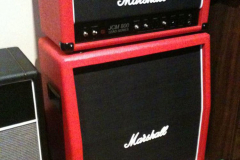
Unbeknown to him, I had noticed a little badge and some strange colours inside. It turned out to be a Marshall 50th anniversary Jubilee cab. Someone had spray painted the silver tolex black, but when I took the back off the cab I could see the silver inside, as well as little badge on the front.
The wood working
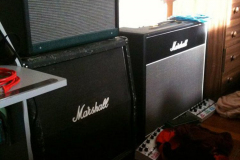
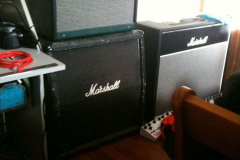
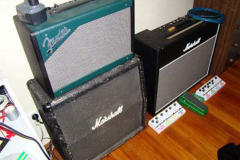
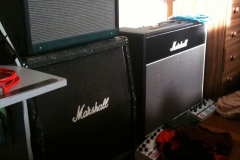
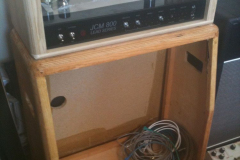
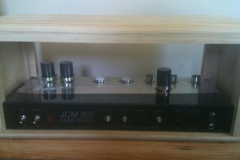
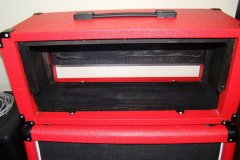
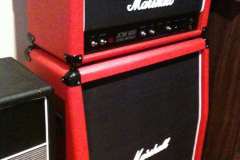
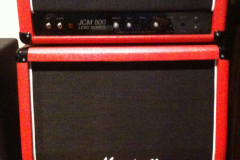
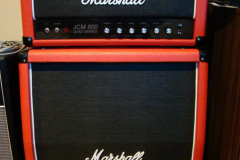
I stripped the cab and made a head to match. The whole setup is actually the size of the 2550 Marshall instead of a proper JCM800, so the whole build was going to be a one of a kind. The head had to be double layered around the front and back to give it that Marshall chunk. The whole thing was made from solid pine boards, i’m not a fan of MDF and ply was too big to fit in my car.
Parts collection
With some phone calls and some trading of skills I got some chassis’ made up from Monaghan Sheet Metal. And because I hate getting just one of something, I got 8. I ended up selling the rest and paying essentially nothing for mine ones.
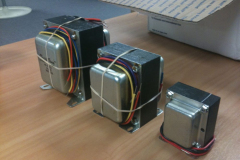
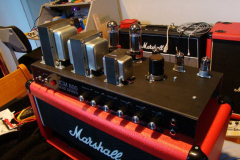
The tolex, transformers and parts came from Triode Electronics, when the shipping to NZ was reasonable. Because I was going for a 1980’s rock / metal thing I went all out and go red tolex, which I never regretted.
Putting it all together
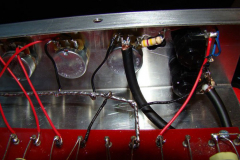
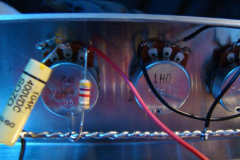
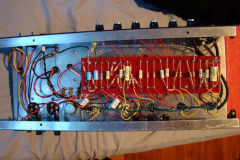
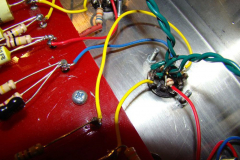
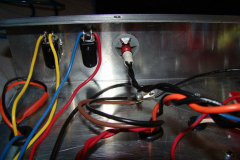
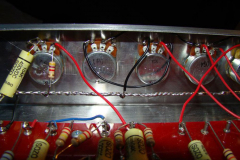
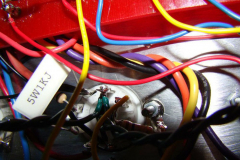
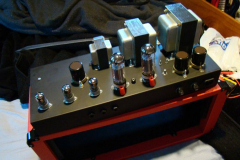
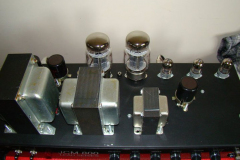
This part took forever as it was only the third amp I had done and it was the first I had done by myself. With lots of calls to dad and lots of googling I got it all wired up. I ended up purchasing some chassis punches to get the tube socket holes ( boy are those handy! ) With a bit of test fitting I was ready to cover it all up. I also snagged some laser cut badges and faceplates through my mates at uni to replace the broken ones on the cab. Also randomly the mesh for the back is cut down gutter guard, the stuff you put in the gutters to stop leaves blocking your gutters.
Firing it up
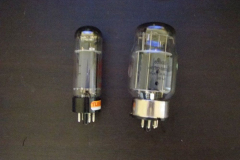
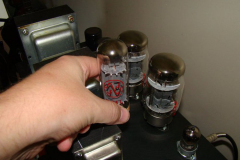
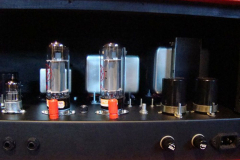
I was almost ready to fire it up. I ended up going for 6550’s instead of EL34’s as I the samples I heard were more to my liking. I picked up some valves from VintageAudioValves, where I started a great personal friendship with Paul and continue to get valves from.
When I fired it up and I ended up modifying it and adding in external bias tests points with an external bias pot. Still running too hot with the 6550’s I had to change the bias resistor. After a few weeks I also ended up changing to CTS volume pots as the alpha ones went scratchy fast.
Man does she sing! and I haven’t touched this thing since. One of the most reliable things I have ever built.
Materials:
- 2 x 12 Jubliee cab
- Tolex from Triode Electronics
- Transformers from Triode Electronics
- Chassis built by Monaghan Sheet Metals
- Valves from Vintage Audio Valves
- All components from Triode Electronics
- 19mm Pine boards for head
- Laser cut faceplate and badges
- Gutter guard mesh for back panel protection
by bassybeats | Dec 4, 2019 | Amplifiers, FX Pedals
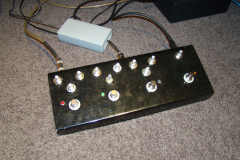
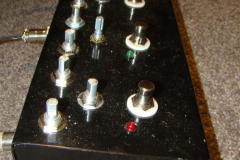
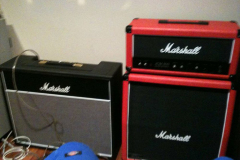
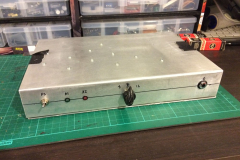
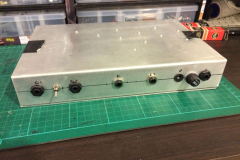
With the Jansen Bassman 50 done I needed a way to use my Marshall cab with both the Bassman and the JCM800. I was too lazy to keep unplugging stuff all the time so I started building the Aiken Amps head switcher.
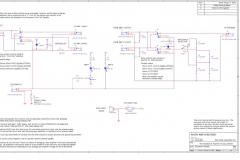
I had downloaded the schematics from Aiken Amps a long time ago as the site was often going down, now it’s gone forever by the looks! The general idea of the project was to have the unit switch the guitar signal as well as the main load of the heads between the cab and a 200W dummy load. Heres the schematic if you need it.
Finding the Parts
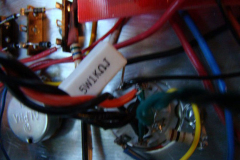
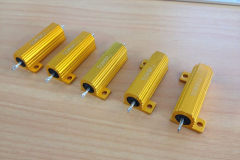
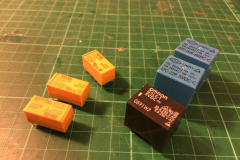
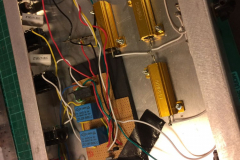
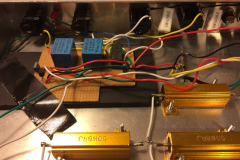
The Aiken schematic uses a make before break concept using 5 volt relays. Surplustronics had a bunch of these laying around so I grab enough to make 4 or 5 of these units incase friends wanted one and I couldn’t get parts anymore. I had ordered some 100W wirewound resistors a while back as well.
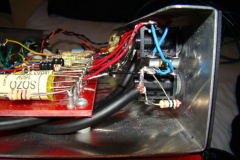
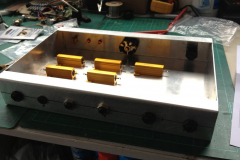
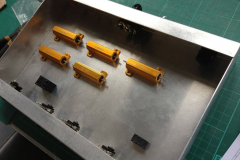
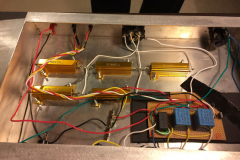
I also had some leftover alloy chassis from Monaghan Sheetmetals nicely corner welded. A bit of drilling and test fitting the wirewound resistors I got on eBay and it all seemed like it was going to come together.
Test fitting
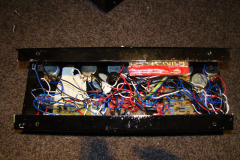
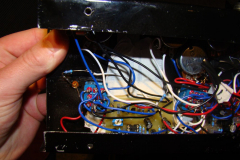
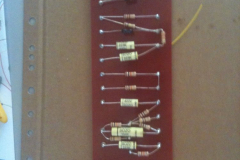
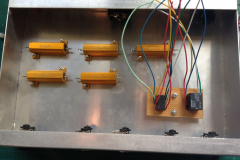
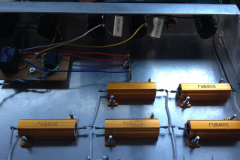
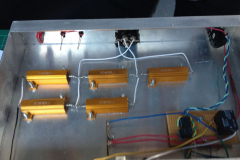
There was some old computer CPU heatsink paste laying around to use for the resistors and the I could wire them up. I did the rest of the wiring on stripboard with solid core wire. I will most likely make a PCB for this and swap it out or make a V2 and sell this one, one day.
Figuring out how to wire it up
I had a bit of trouble figuring out how to lay it all out since there was only a schematic. The notes said to physically isolated the two circuits, but I just kept the separate on the same piece of vero board. I will eventually swap it out for a PCB when I get round to it.
I still haven’t got to running it through a pair of amps switching full load yet ( too scared! ) but it all works as it should and switches both signals.
Materials:
- JZC-22F 5VDC and DS2Y-S-DC5V relays
- 18g alloy folded and welded chassis
- Resistors from eBay user abillionstore
- Schematic from Aiken Amps
- Components from Jaycar
Recent Comments